InstaSafe Stick
InstaSafe USB provides the secure and controlled access to internal applications from external networks by administrators or power users, InstaSafe offers the InstaSafe Stick—a tamper-proof, encrypted, read-only Ubuntu-based bootable operating system deployed on a USB 3.0 drive. This hardened environment is designed to eliminate data leakage risks and enforce strict Zero Trust access policies.

Key Security Mandate Compliance
- Isolated Boot Environment: The solution mandates access through a separate bootable system using a preconfigured USB OS, disallowing access from any host operating system.
- Data Encryption and Isolation: All files created or accessed within the InstaSafe Stick environment are encrypted and cannot be opened or decrypted in any other OS or device.
- Tamper-Proof and Read-Only: The USB drive operates in a read-only mode, preventing unauthorized modifications, thereby ensuring integrity and non-repudiation.
InstaSafe Stick: Technical Architecture
- Base OS: Hardened Ubuntu (LTS version)
- Deployment Medium: USB 3.0 Drive (8 GB or higher)
- Boot Mode: Secure boot via BIOS/UEFI (user reboots and selects USB boot)
- Network Access:
- Whitelisted application access only
- No access to external/public internet
- ZTNA Integration: Secure tunnels for application-specific access
- MFA Integration: Integrated support for OTP/Push via InstaSafe Authenticator
Use Case Scenarios
- Secure Third-Party Access: Ideal for consultants, vendors, and remote employees who need limited and secure access to applications.
- BYOD Environments: Enables use of personal or non-compliant devices without risking corporate data exposure.
- Disaster Recovery or Remote Admin Access: Acts as a secure fallback environment for administrators during remote interventions.
Creating a Bootable InstaSafe USB Stick
This section provides a step-by-step technical guide for creating a bootable InstaSafe USB Stick used for secure access to enterprise applications via a hardened OS environment.
Prerequisites
- USB Drive (Minimum 8 GB recommended)
- InstaSafe ISO file (provided by InstaSafe)
- Rufus or similar bootable USB creation tool (e.g., Balena Etcher)
- Windows/Linux system with administrative privileges

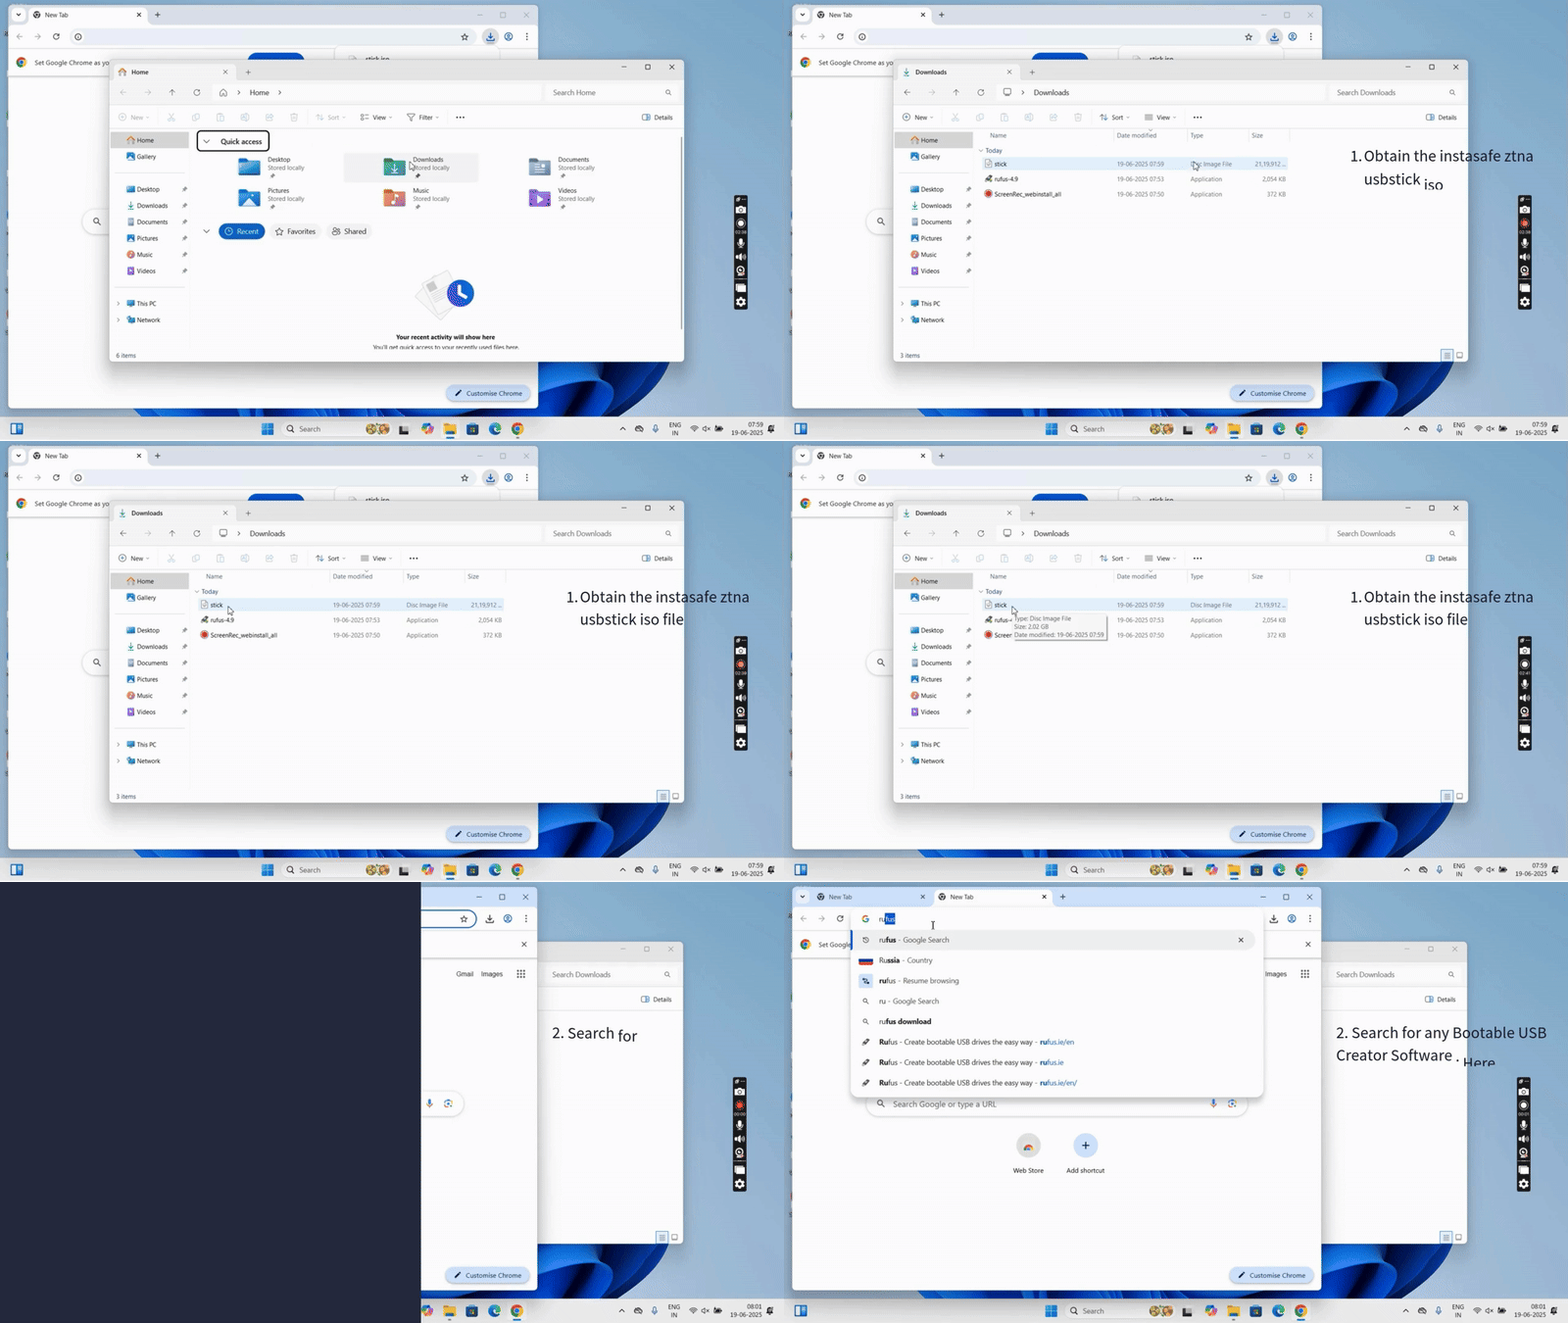
Step 1: Download Required Files
- Download the InstaSafe OS ISO provided by InstaSafe.
- Download Rufus from https://rufus.ie.
Step 2: Plug in USB Drive
- Insert the USB drive into a working USB port on the system.
- Back up any important data on the USB as it will be completely formatted.
Step 3: Launch Rufus
- Open Rufus as an administrator.
- The USB drive should automatically be detected.
Step 4: Select ISO File and Settings
In Rufus:
- Device: Select the correct USB drive.
- Boot Selection: Click “Select” and browse to the InstaSafe ISO file.
- Partition Scheme: Select MBR (for BIOS/UEFI compatibility) OR
- GPT (for UEFI systems only) – confirm based on target machine.
- File System: Default to FAT32 (recommended).
- Volume Label: Name it InstaSafe Stick or similar.
Step 5: Start the Bootable USB Creation
- Click Start.
- Confirm the warning that the USB will be erased.
- Rufus will begin writing the ISO to the USB.
- Wait for the process to complete.
Step 6: Safely Eject USB Drive
- Once the status bar is green and says READY, click Close.
- Safely eject the USB stick from the system.
User Workflow
- Insert InstaSafe Stick into a USB 3.0 port.
- Reboot system and select USB as the boot device.
- Hardened Ubuntu OS launches with InstaSafe ZTA preconfigured.
- Authenticate via MFA and gain access to permitted applications.
- Operate in a secure, isolated environment; any accessed data is encrypted.
- Remove USB on session completion — no trace or leakage on host system.
User Guide : Booting a System Using InstaSafe USB Stick
The InstaSafe USB Stick is a secure bootable device that enables users to initiate a hardened OS environment for accessing secure enterprise applications through Zero Trust principles. Below is a step-by-step guide on how to boot the system using the InstaSafe Stick:

Step 1: Insert InstaSafe USB Stick
- Plug the InstaSafe USB Stick into a USB port of the laptop or desktop device.
- Ensure the device is powered off before inserting the USB stick for best results.
Step 2: Power On and Access Boot Menu
- Immediately press the relevant boot menu key (e.g., F12, F9, Esc, or Del) depending on your device's manufacturer.
- From the boot menu, navigate using arrow keys to select the USB drive listed under bootable devices.
- Or access the boot menu from Settings > System > Recovery > Advanced Startup
Step 3: Make sure these options are enabled
- Secure boot is turned off for best results.
- Boot from USB/Flash Drive is the first priority in boot order.
Step 4: Boot into InstaSafe OS
- Select the InstaSafe USB device and press Enter.
- The system will boot into the secure InstaSafe OS environment.
- This OS is typically Linux-based and contains pre-configured security controls and the InstaSafe Secure Access client.
Step 5: Authentication and Login
- Once the OS loads, the InstaSafe login interface will appear.
-
Users are prompted to:
- Authenticate using credentials (username/password).
- Optionally verify Multi-Factor Authentication (OTP, mobile authenticator).
-
After successful authentication, access is granted to the enterprise portal or permitted SaaS/on-prem applications.
Step 6: Secure Session Use
- Users can now securely access enterprise applications through the locked-down secure session.
- Internet access, clipboard use, file transfer, and printing can be restricted as per policy.
- Endpoint posture checks, DLP rules, and session recording may also be enforced depending on configuration.
Step 7: End Session and Power Down
- Once the session is complete, users can log out of the InstaSafe OS.
- Shut down the system normally.
Benefits
- Enhanced Security Posture: Isolated, hardened OS with no access to host system or public internet.
- Compliance Ready: Aligns with regulatory and data protection mandates.
- Rapid Deployment: Preconfigured, plug-and-play setup with no additional software installation.
- Operational Efficiency: Reduces the need for expensive endpoint hardening or dedicated laptops for external users.