Configuring Local User Groups
The User Groups page on the ISA web portal allows administrators to create user groups and add users to them. User groups can be created locally by adding the user groups manually or in bulk or imported from Active Directory (AD) and LDAP. Two Factor Authentication, Device Checks, Geo Location, and Device Updates can be enabled on the group, which will be inherited by the members of each group.
Local user groups can be created based on the functions of the users within it or based on their roles and responsibilities on the ISA web portal. A user can be a member of multiple groups. Only active users can be added to a user group. When a user is suspended after being added as a member of a group, the user is removed from the membership of the group.
User groups offer the advantage of granting access to corporate resources for all group members within an access rule, simplifying access management.
Add User Group
- Login to the ISA web console using administrator credentials.
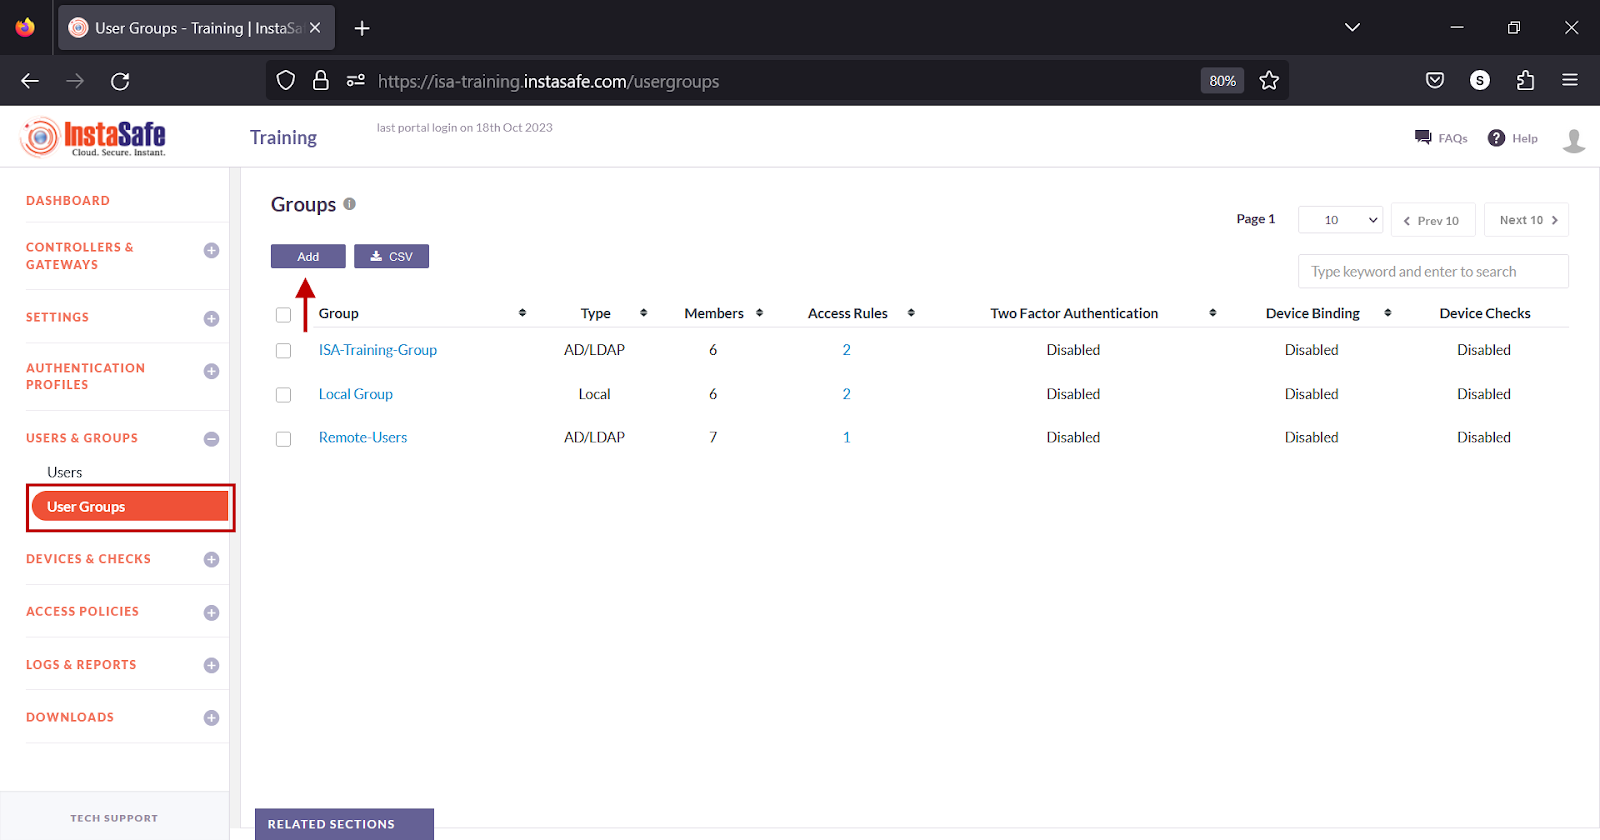
- Navigate to the User Groups page under the USERS & GROUPS menu.
- Click the Add button at the top.
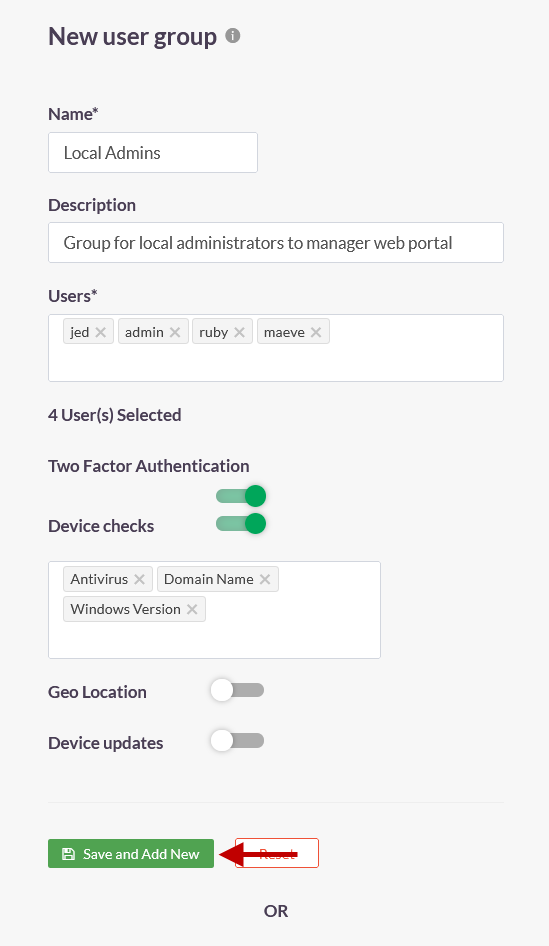
- On the New user group window, configure the following:
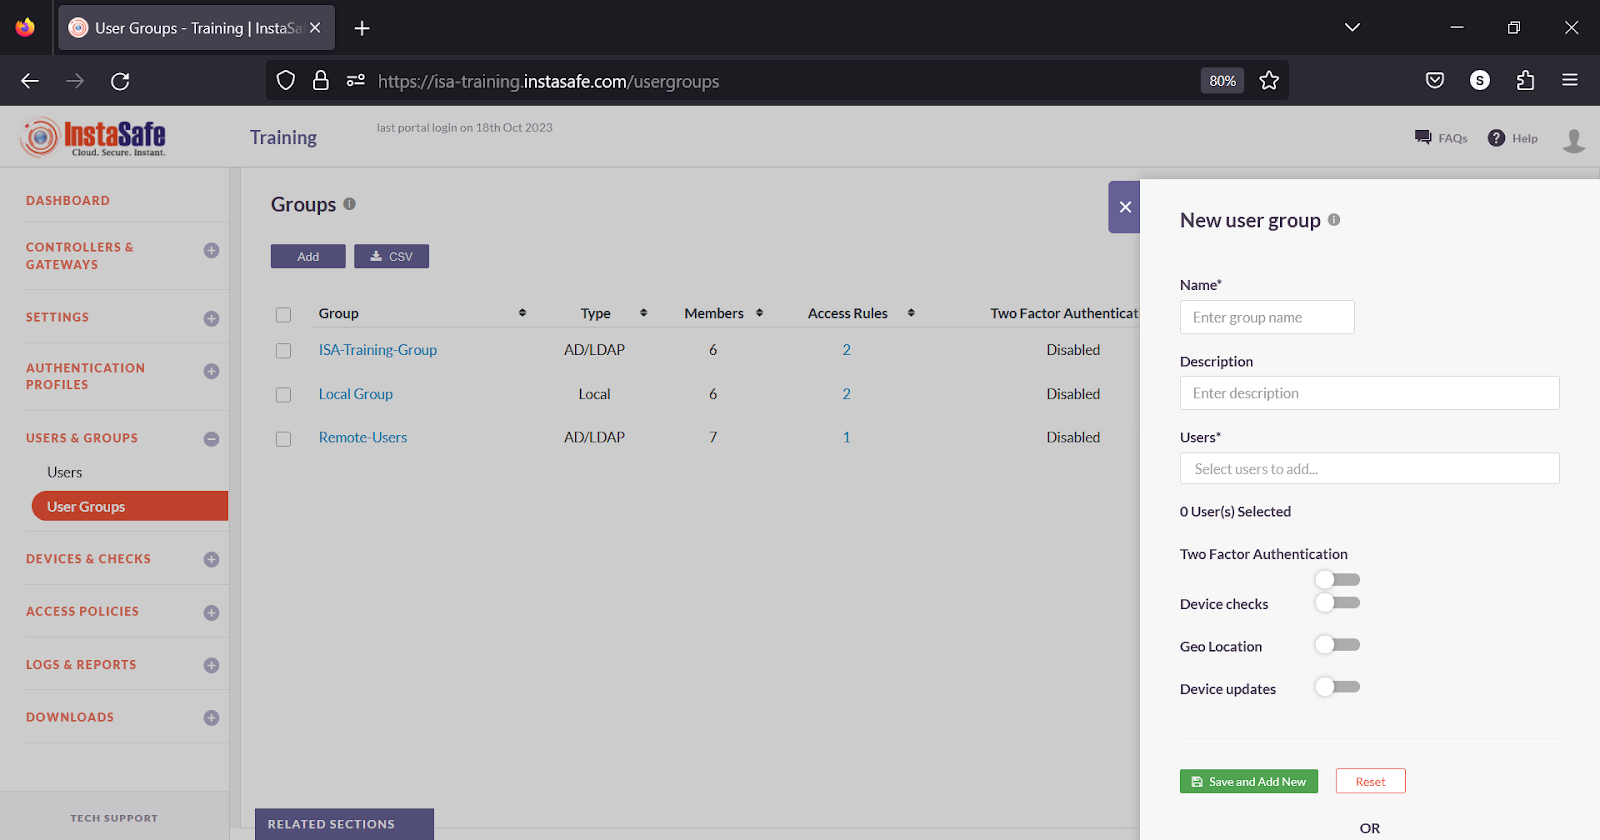
- Name – Enter a name for the group. The name may contain A-Z, a-z, 0-9, “-“, “_”. The maximum characters must not exceed 70 characters.
- Description – Enter a description.
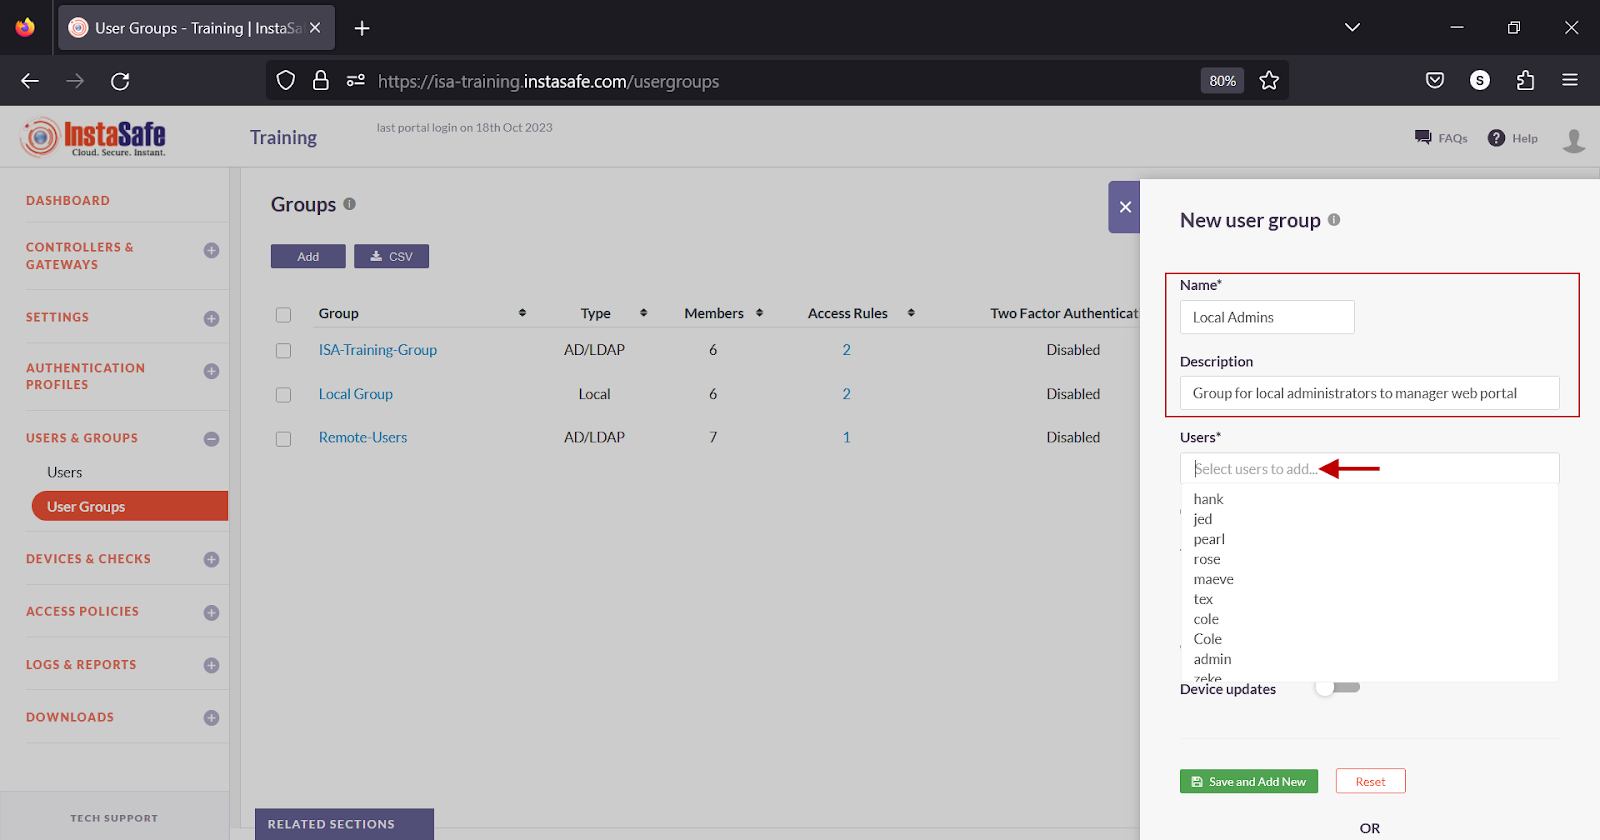
- Users – Click the box to select the users from the drop-down list.
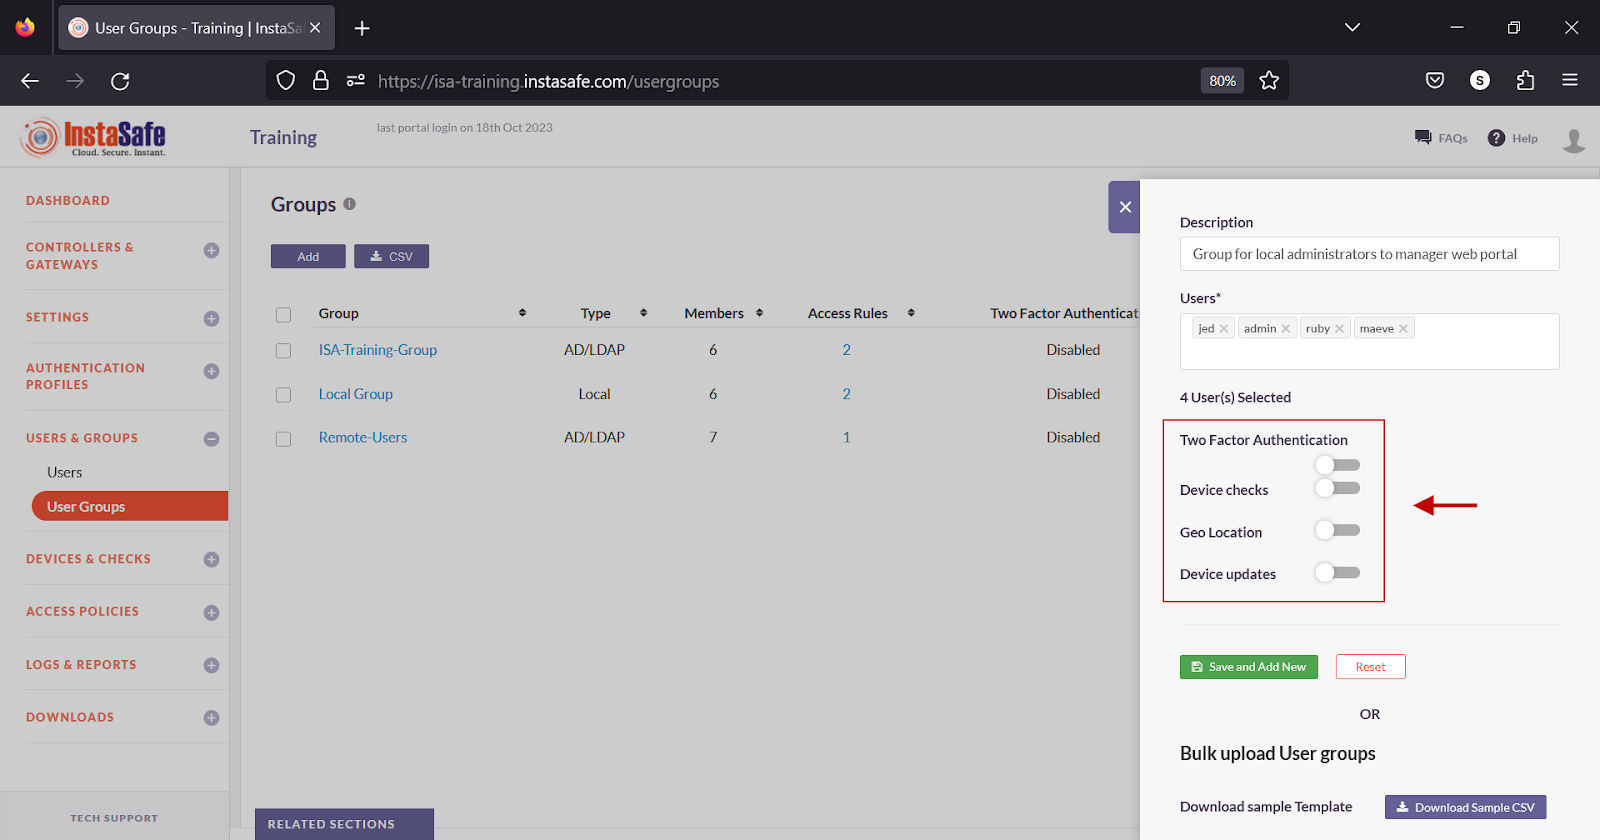
- Two Factor Authentication – Turn on the toggle button to enable Two Factor Authentication.
- Device checks – Turn on the toggle button to enable Device Checks.
- Geo Binding – Turn on the toggle button to enable Geo Binding.
- Device updates - Turn on the toggle button to enable Device updates. For more information on configuring Device Updates, refer to the KB article Configuring Device Updates.
- Click Save and Add new to add the group.
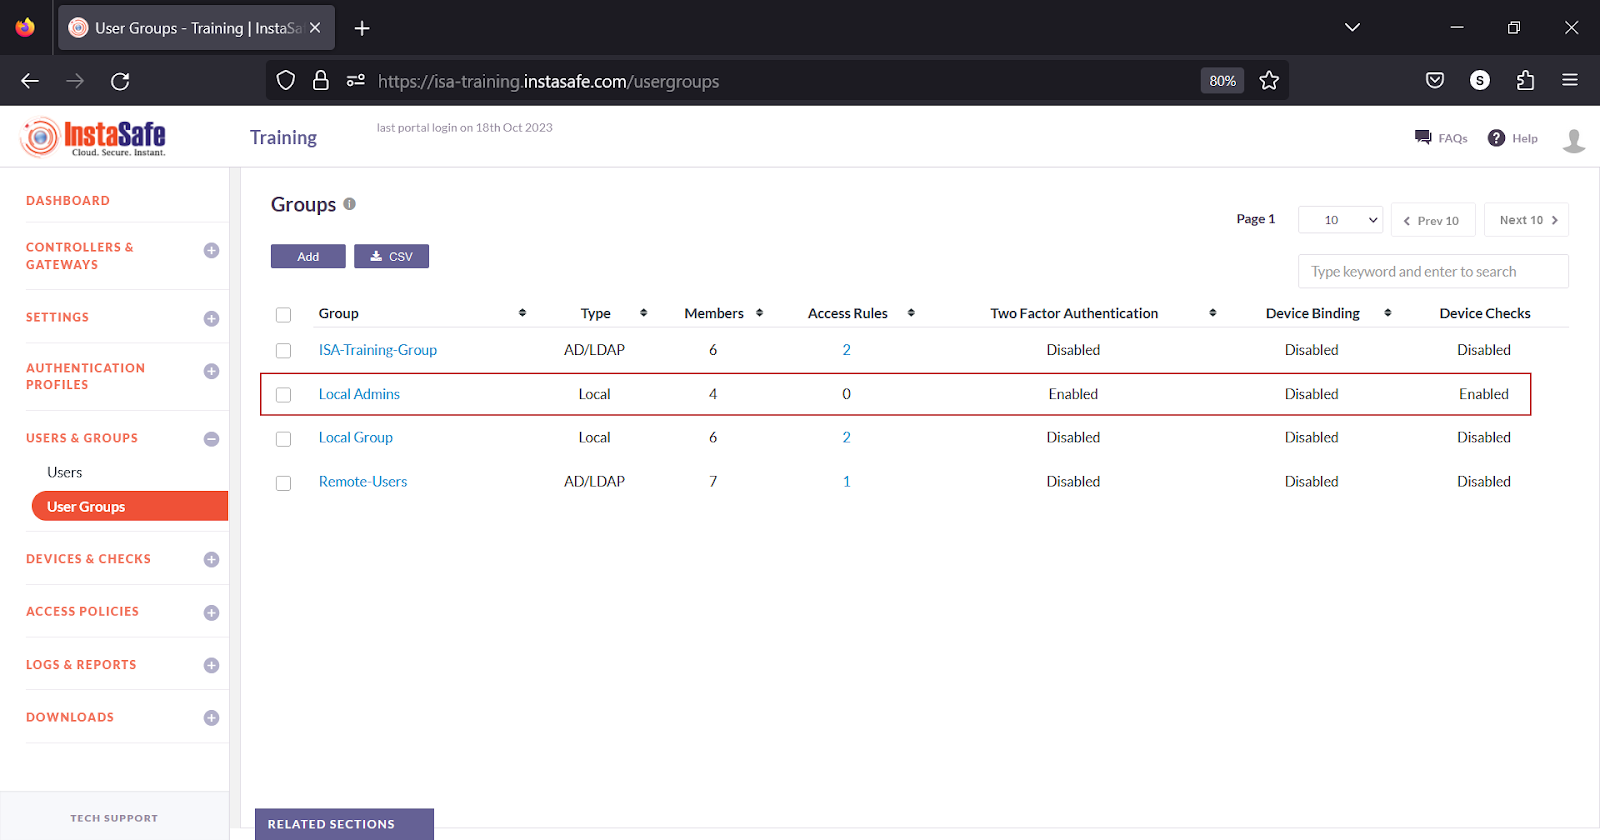
- The newly created group is listed on the page.
Add User Groups in Bulk
This option allows the administrator to add large number of user groups at once. The status of users to be added in the group must be active. Supported fields in the file are:
- Name: Name for the group. This field must not be blank.
- Description: A short description of the group.
-
User (comma separated): This field must not be blank.
-
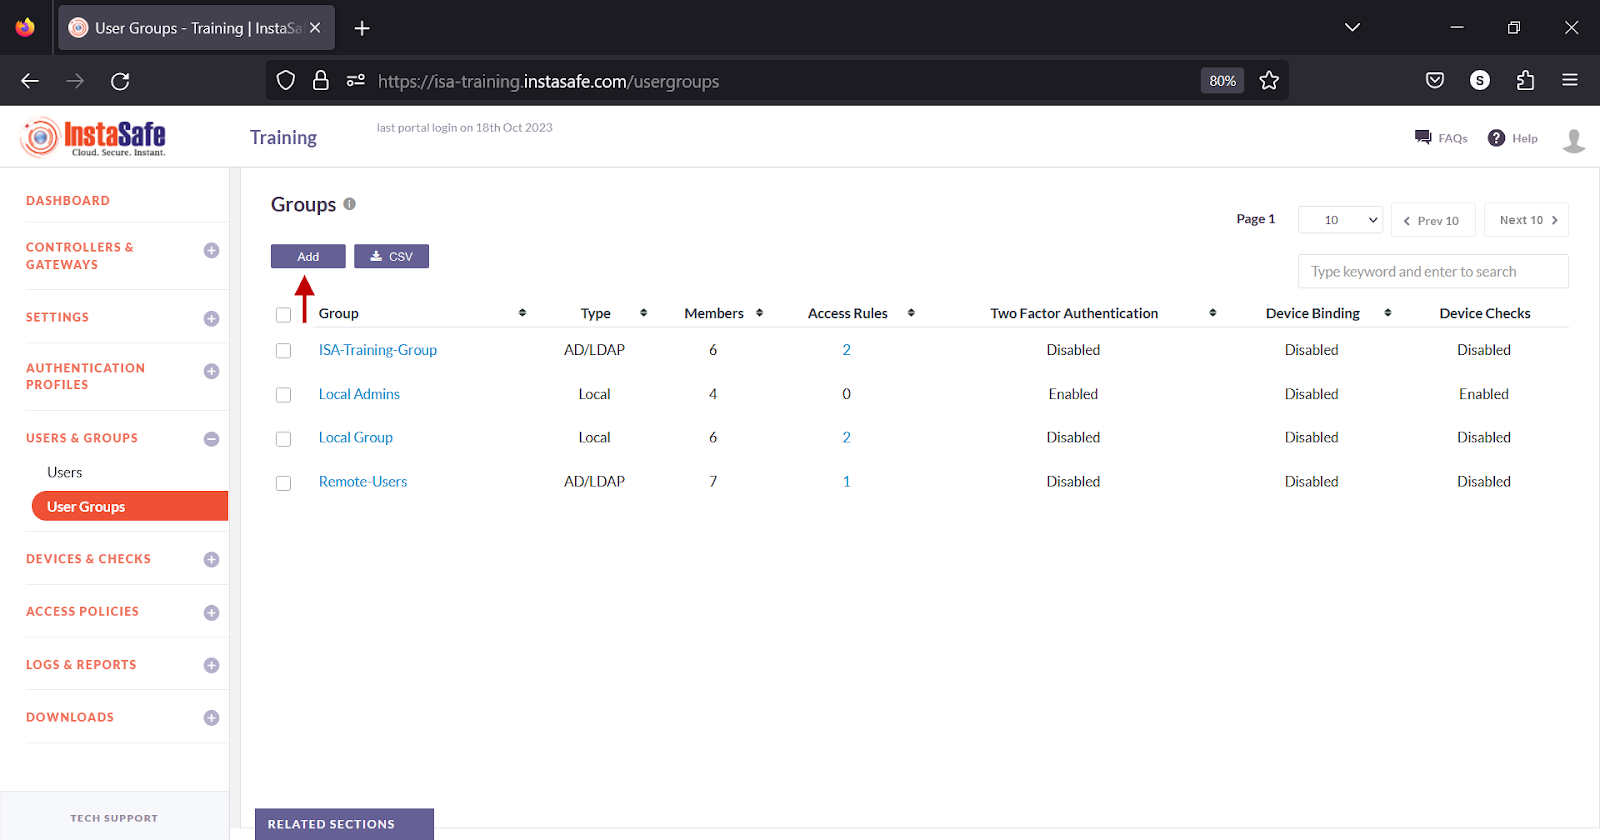
On the User Groups page, click the Add button.
- Scroll down the window.
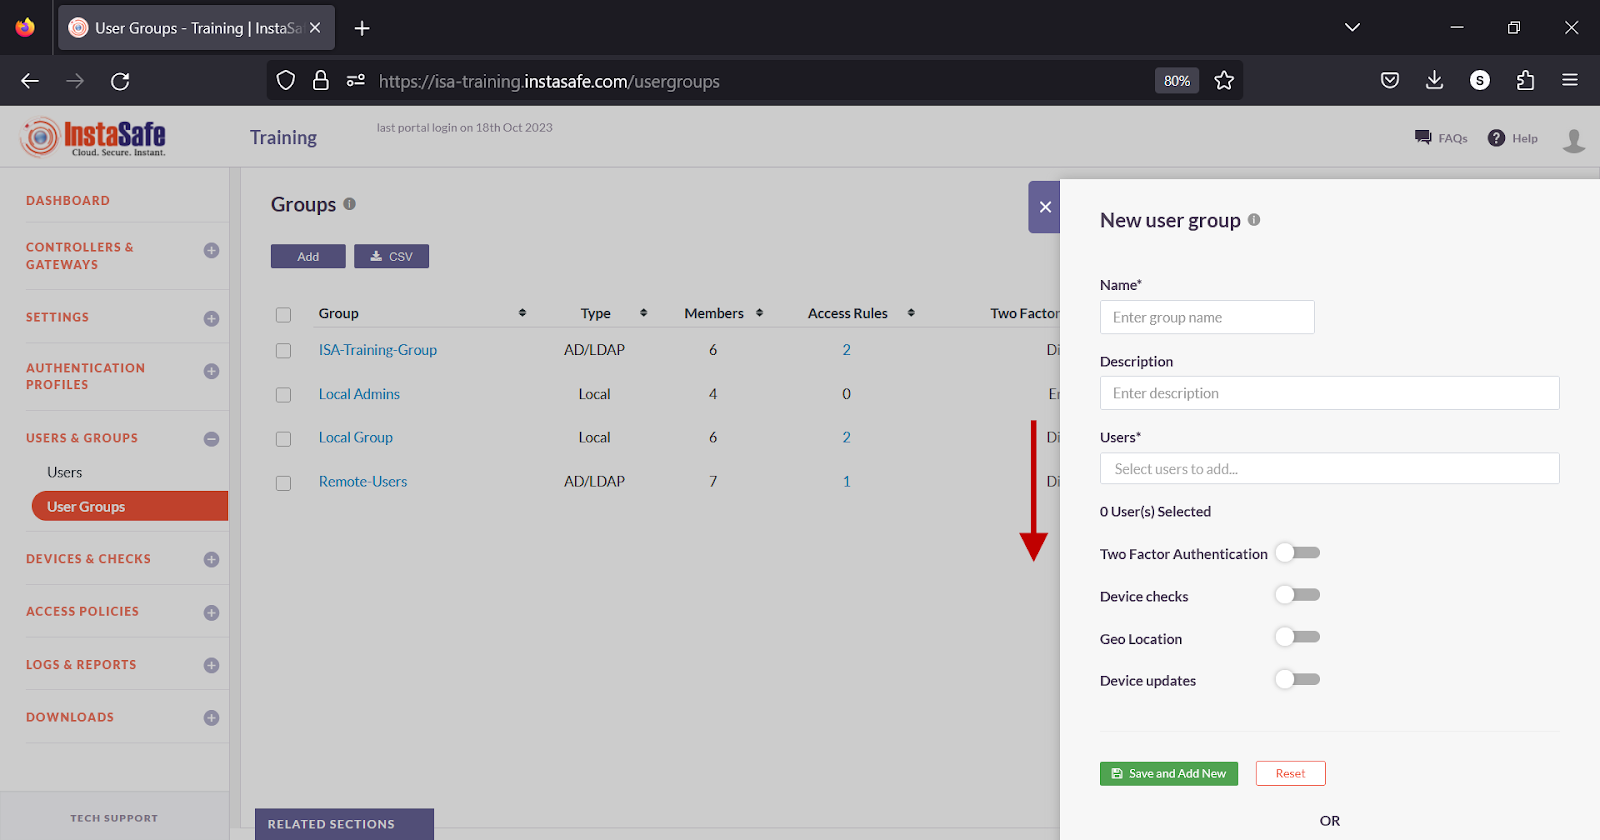
- Under Bulk Upload User groups, click Download Sample CSV.
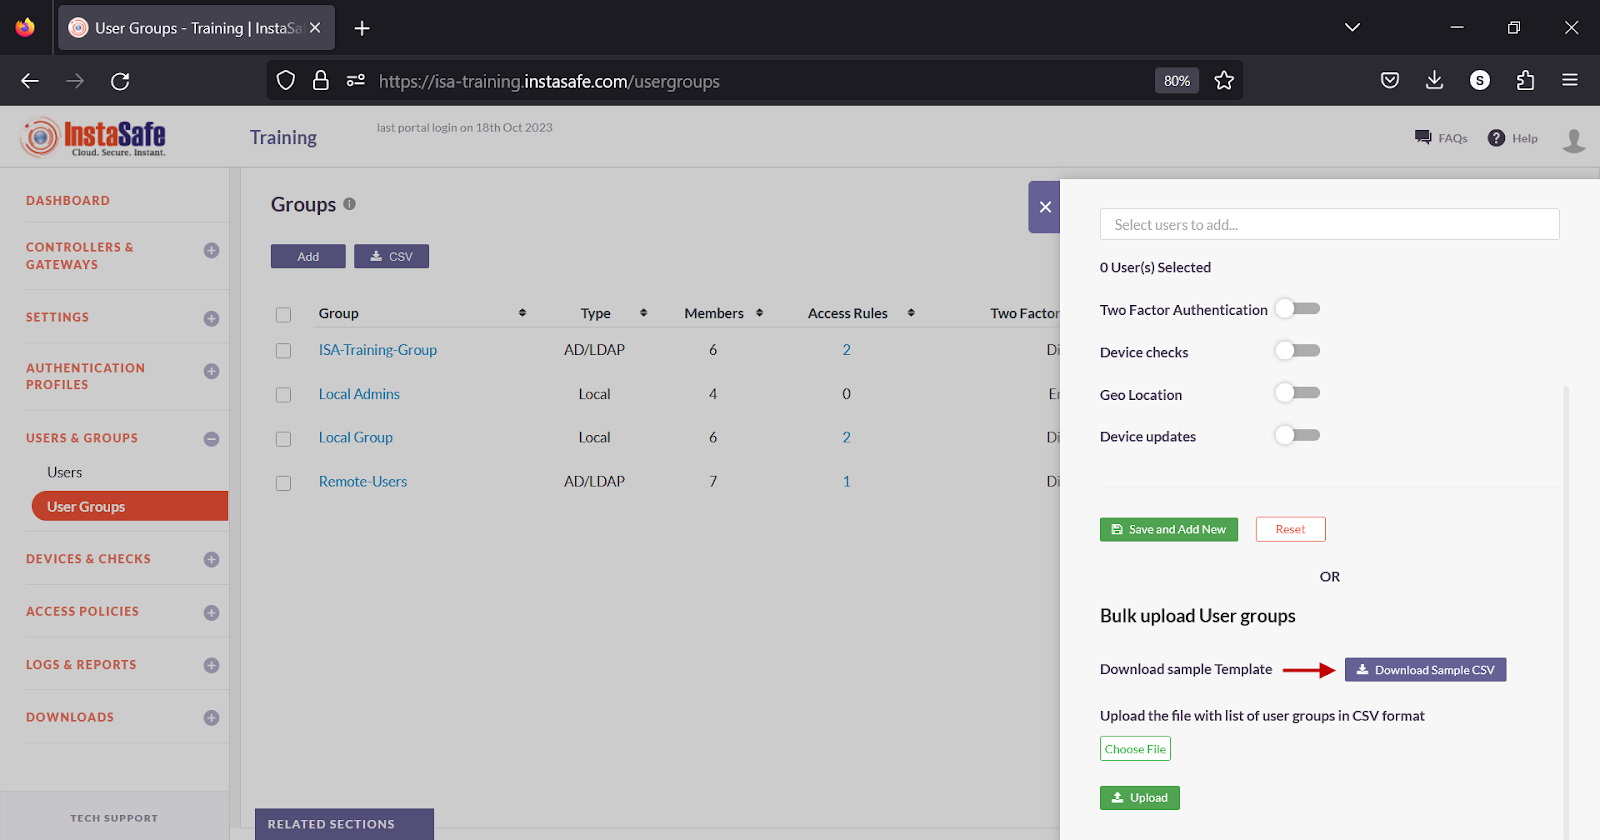
- Open the file using a spreadsheet application.
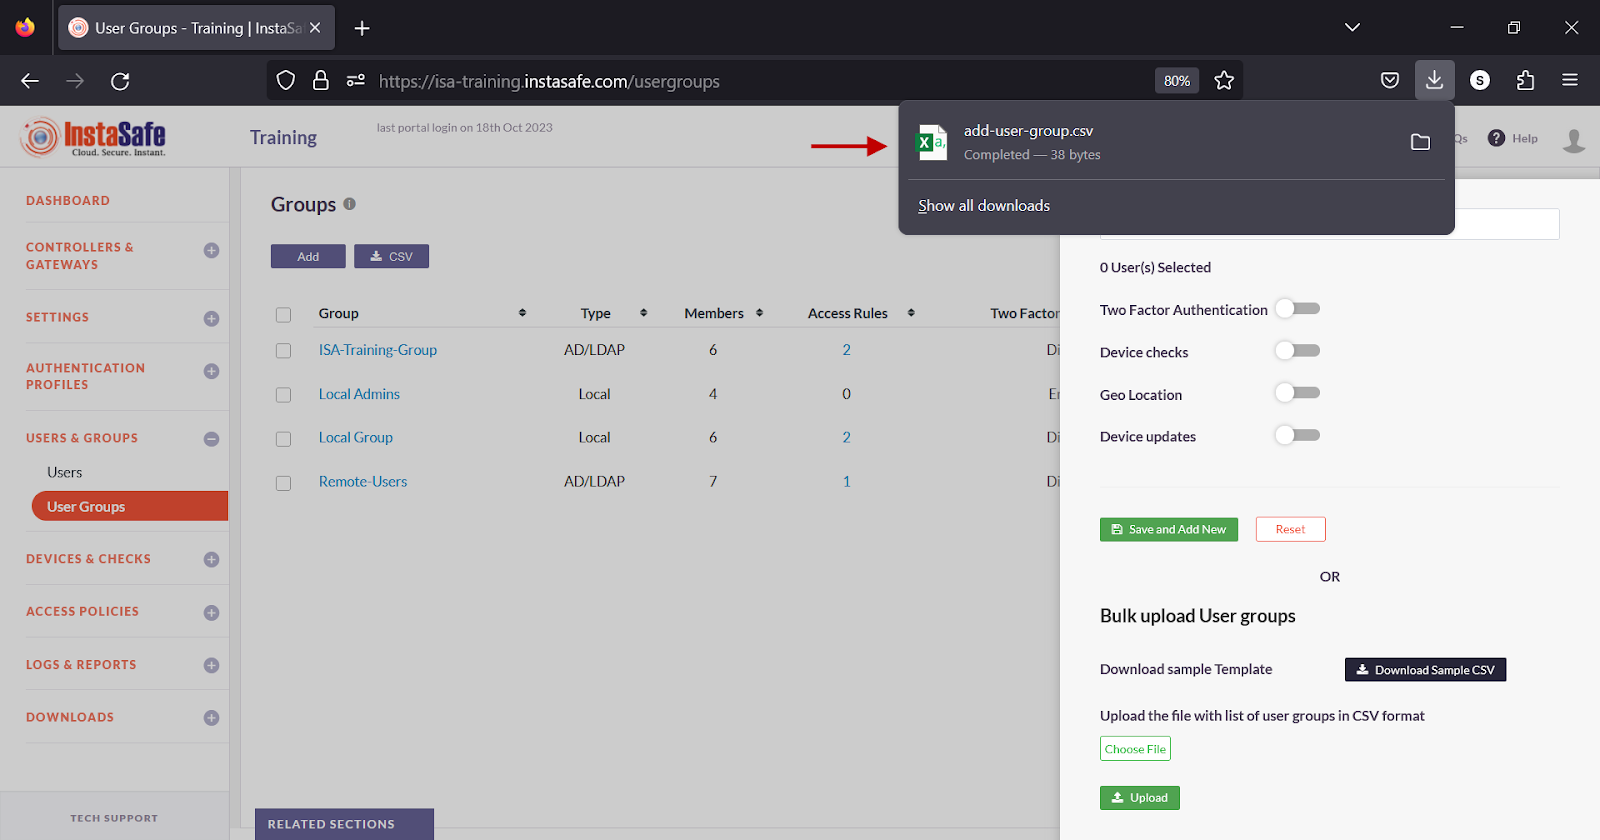
- The template file has the following fields.

- Enter the group information in the respective fields and save it.

- In the Bulk upload User groups window, click Choose File and select the file from local drive.
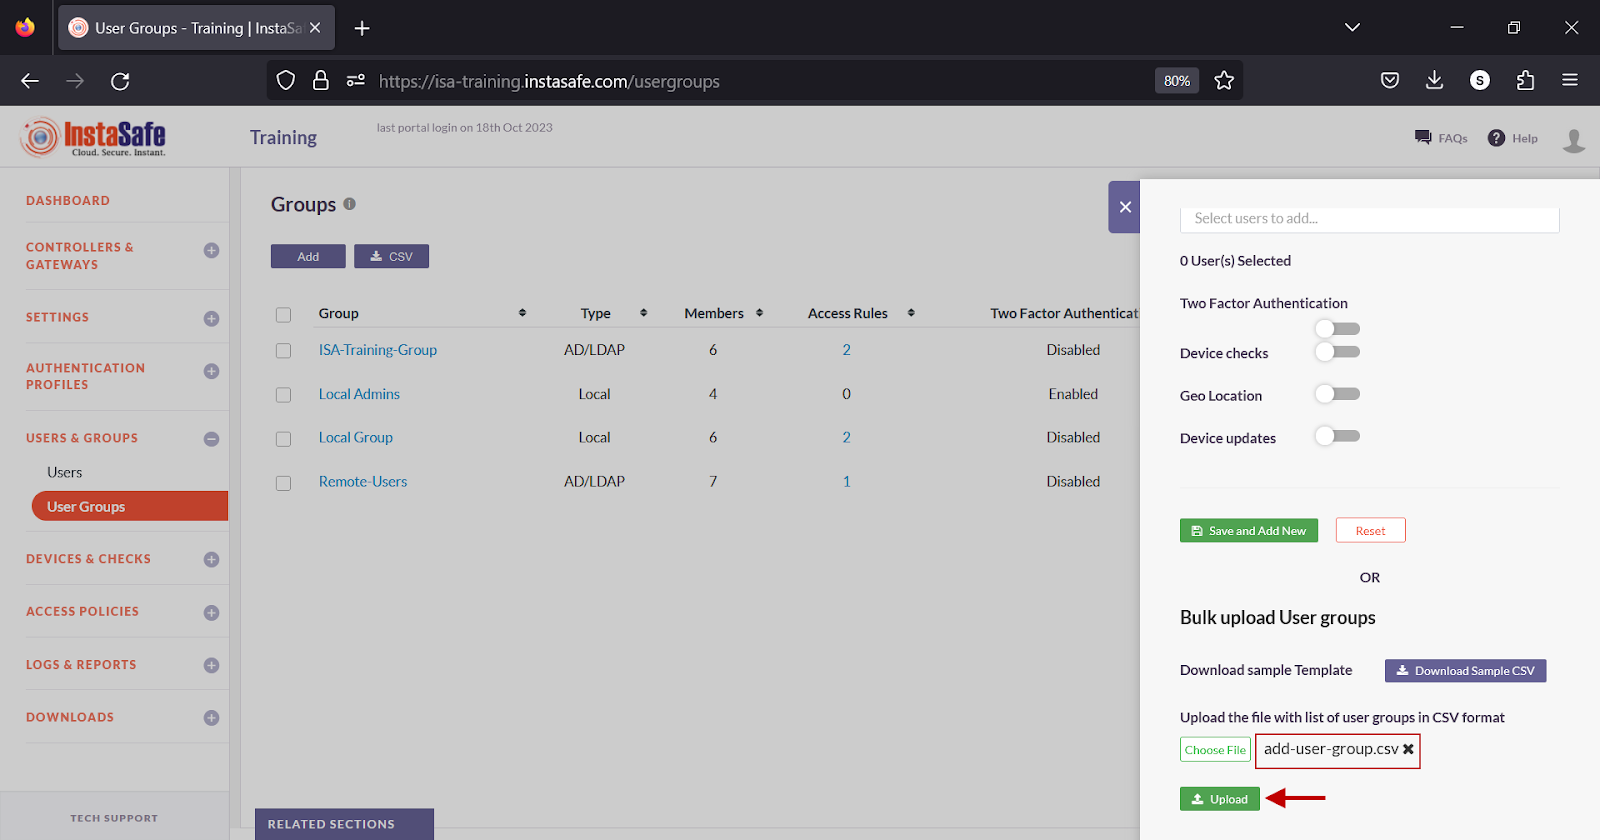
- Click Upload.
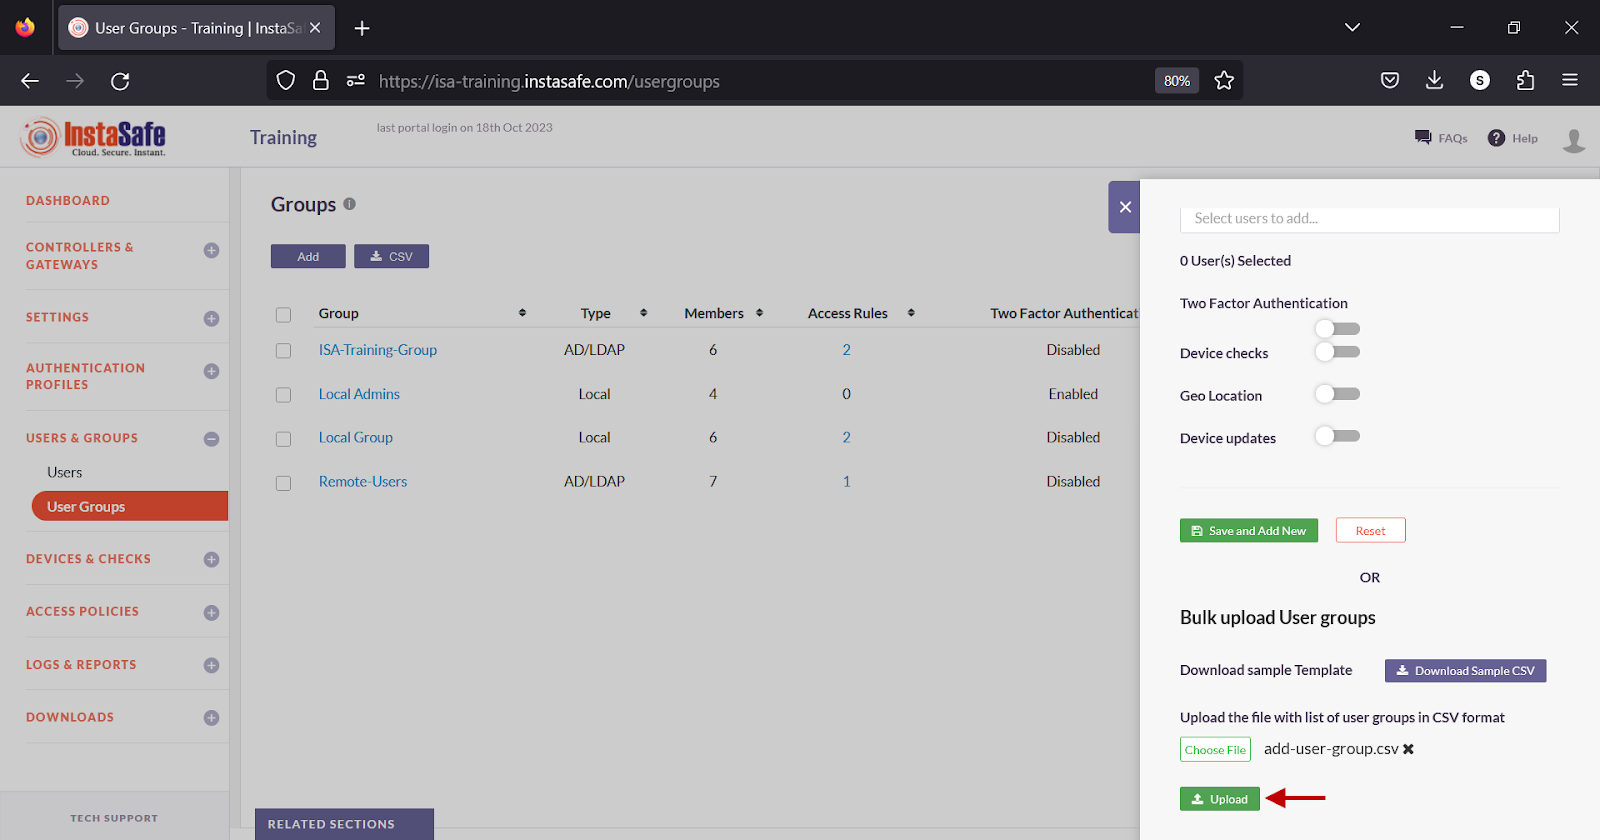
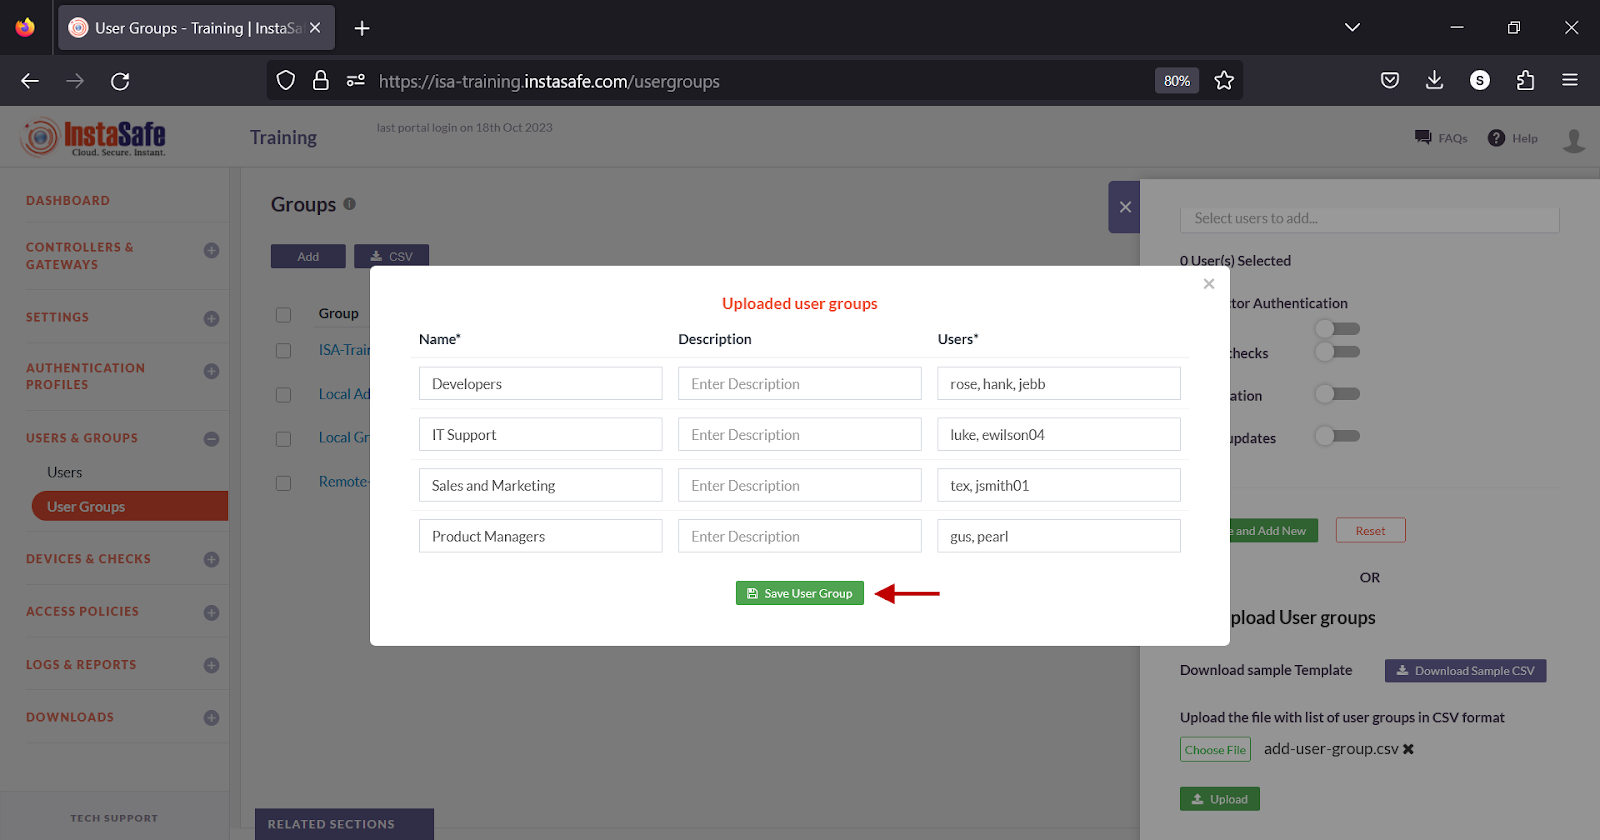
- In the Uploaded user groups window, review the information and click Save User Group.
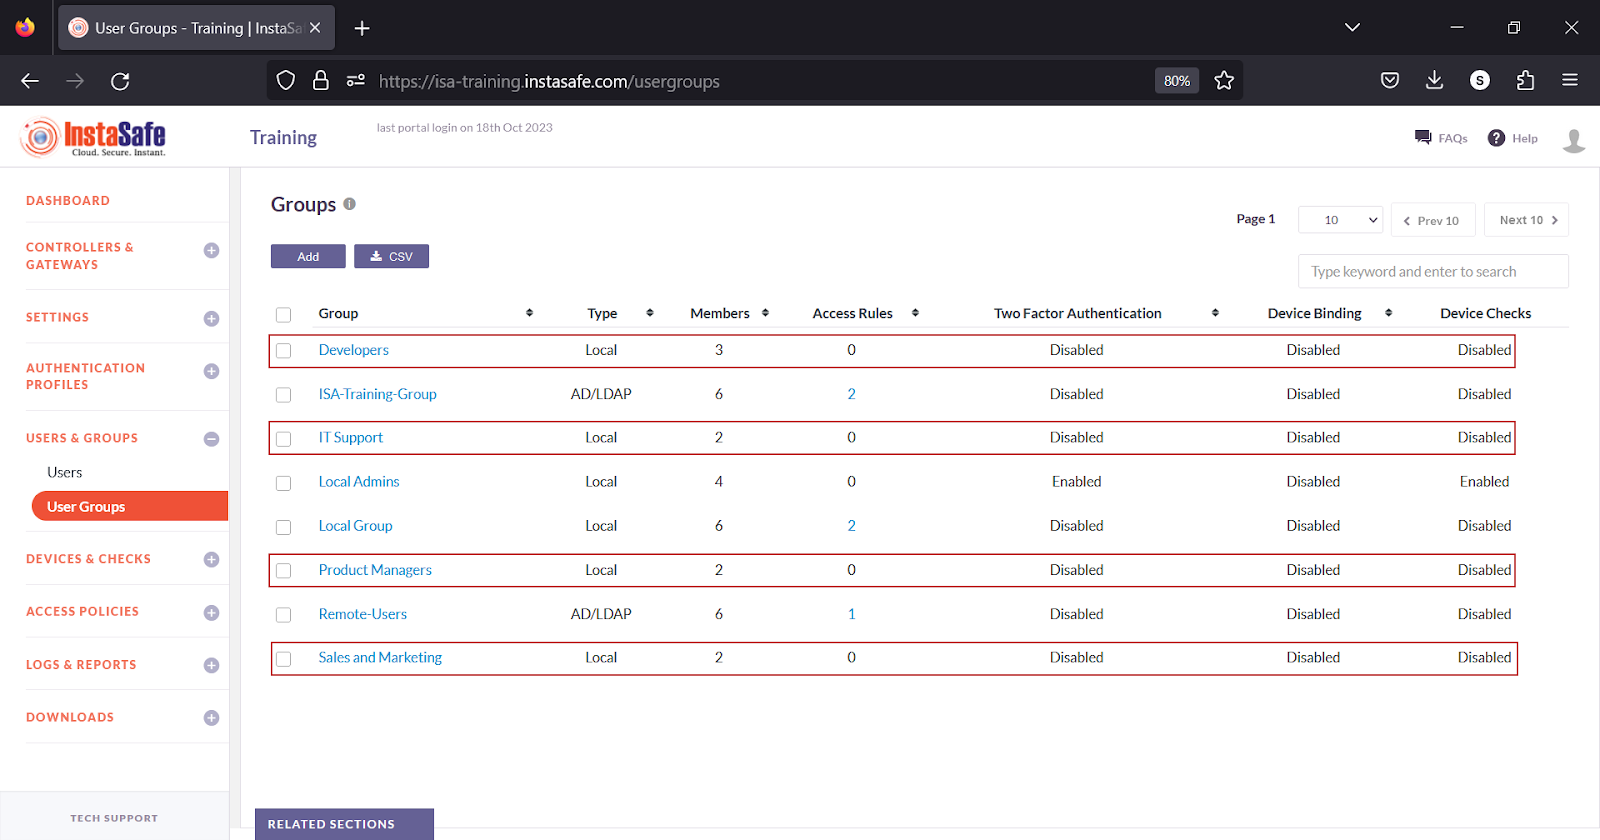
- The newly created groups are listed on the User Groups page.
Handling Group Assignments
- Avoid Adding Users to Groups During Creation:
Adding users to groups during the upload process increases processing time.
- Recommended Approach:
First, create all users in bulk without assigning them to any group.
Once all users are created, assign them to the necessary group in one action (batch processing).
Alternatively, create a new group, add the users to it, and later associate the group with the appropriate Access Control List (ACL).
Download User Groups List
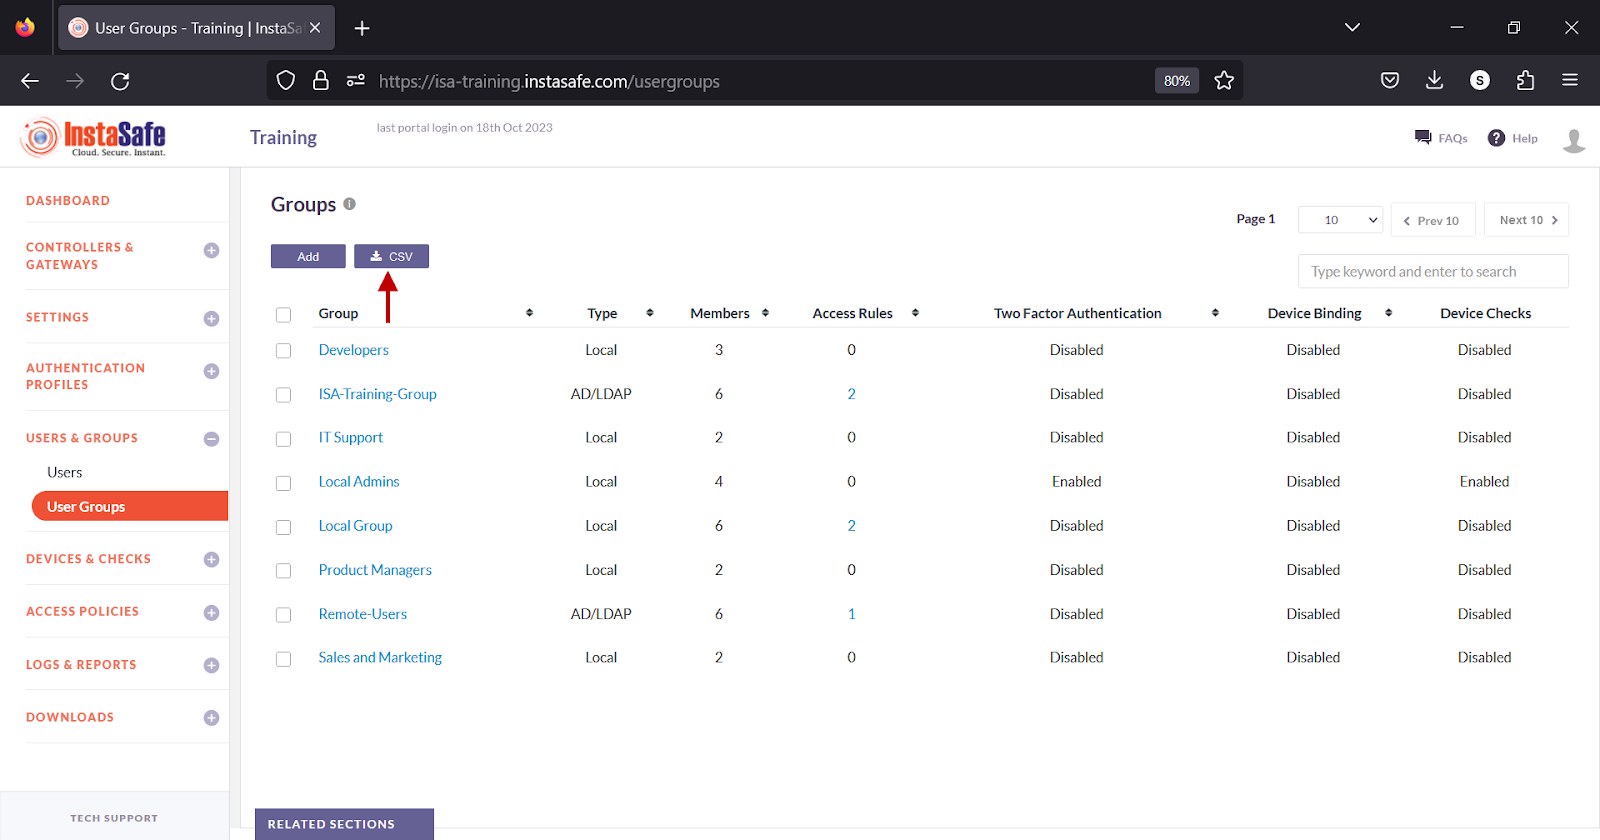
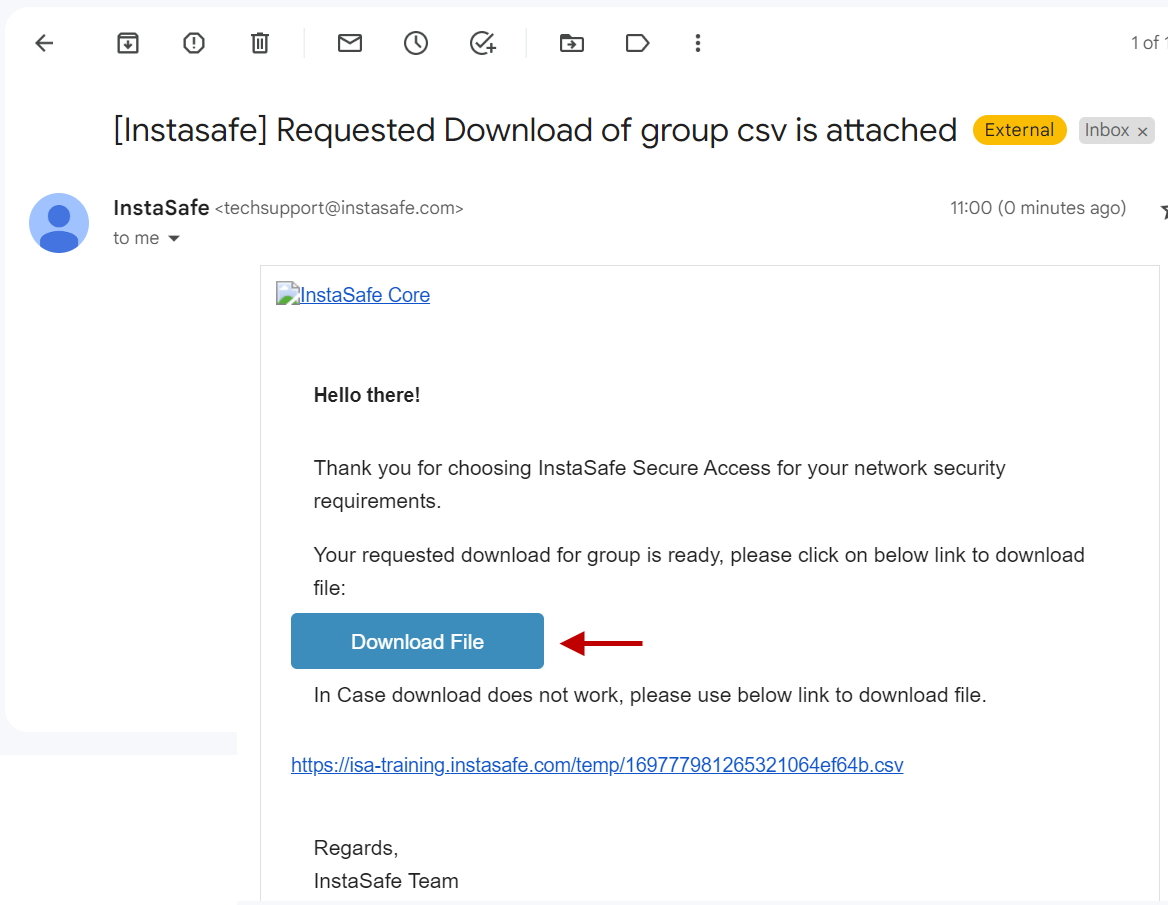
ISA web portal administrators can download the complete list of users by clicking on the CSV button on the User Group page. An email with the link to download the file in CSV format is sent to the logged-in administrator’s email address. The file has the following information:
- Group - Name of the user group.
- Type - Whether the group is local, AD, or LDAP
- Description – Description of the group.
- Member Count – Number of users within the group.
- Member Names –Usernames of the users within the group.
- ACL Count – The number of access rules with reference to this group.
- ACL Names – Name of the access rules.
- Two-Factor Authentication – Whether 2FA is enabled for the user.
- Device Check – Whether Device Check is enabled for the user.
-
Geo Binding – Whether Geo Binding is enabled for the user.
-
On the Users page, click the CSV button at the top.
-
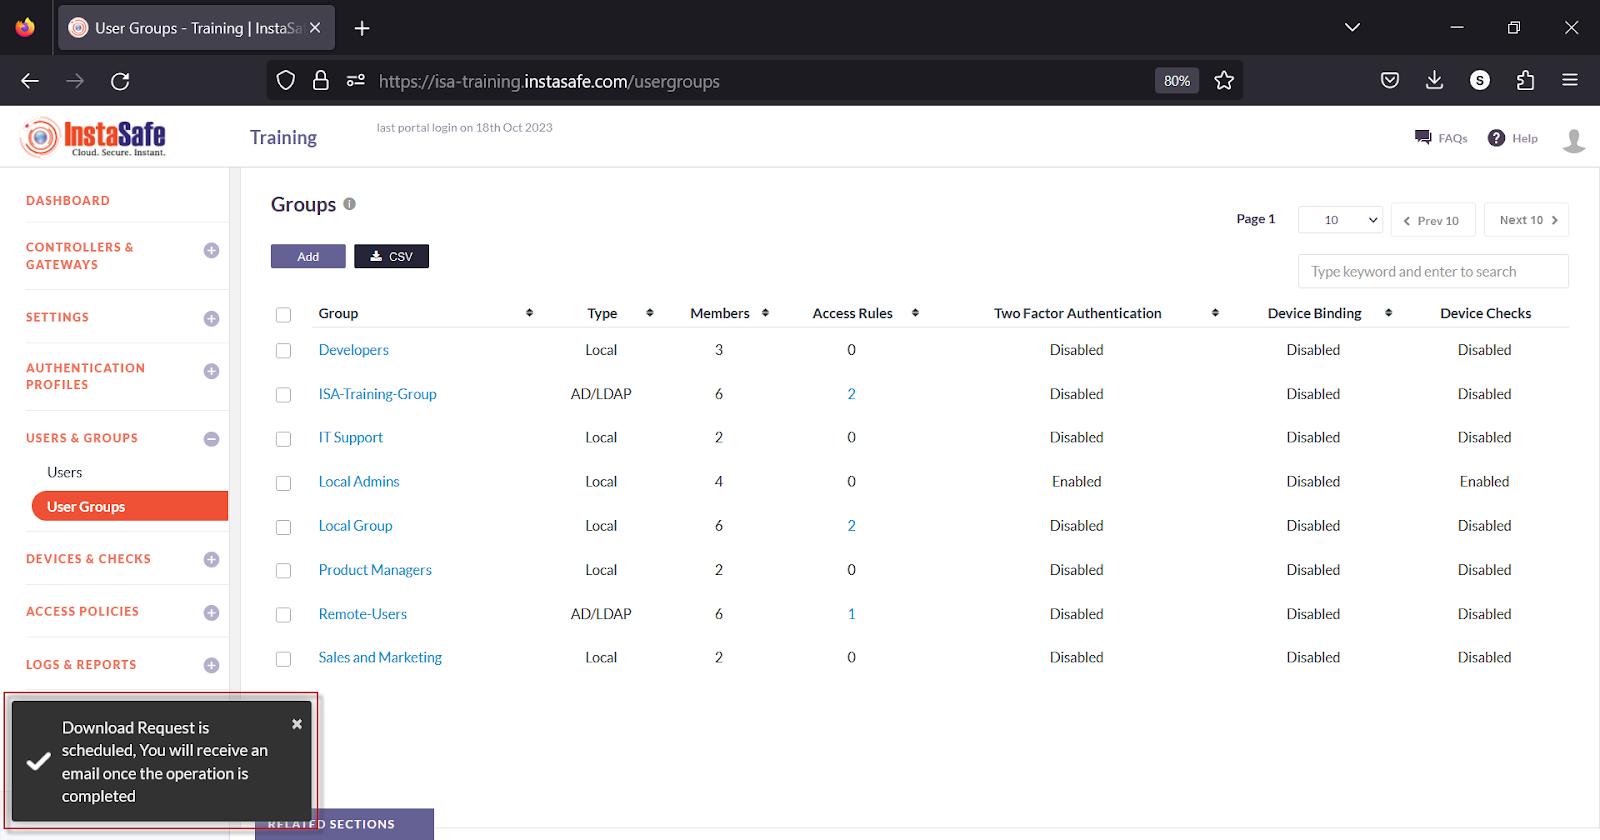
A message that an email is scheduled to be sent to the administrator’s email address is displayed.
-
Click the download link within the email.
- View the file in a spreadsheet application.


Edit User Group
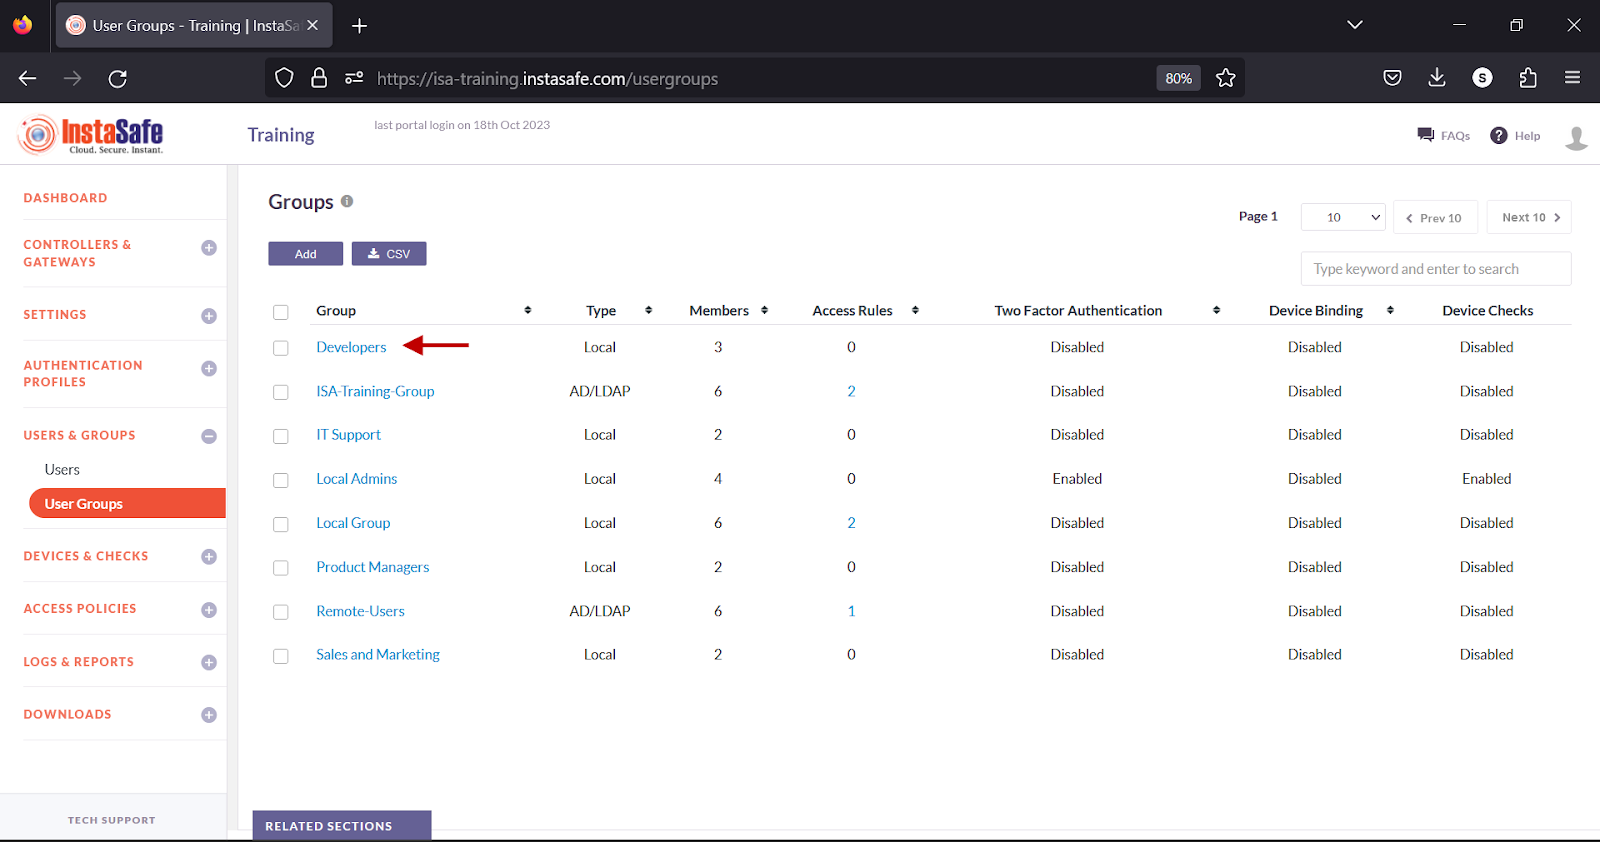
On the User Groups page, click the name of the user group.
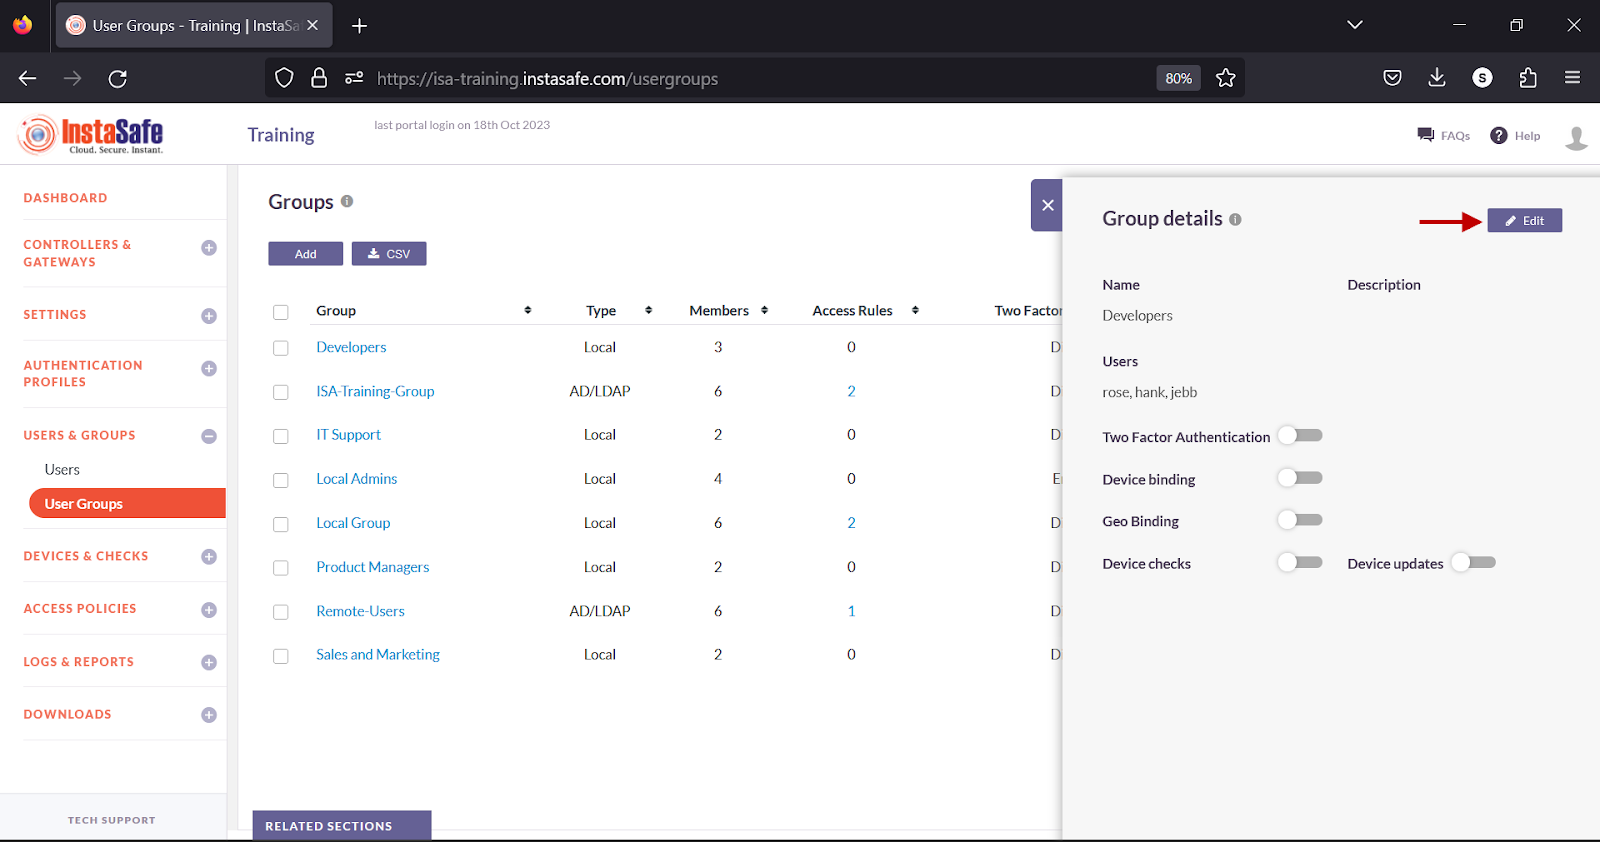
- In the Group details window, click the Edit button.
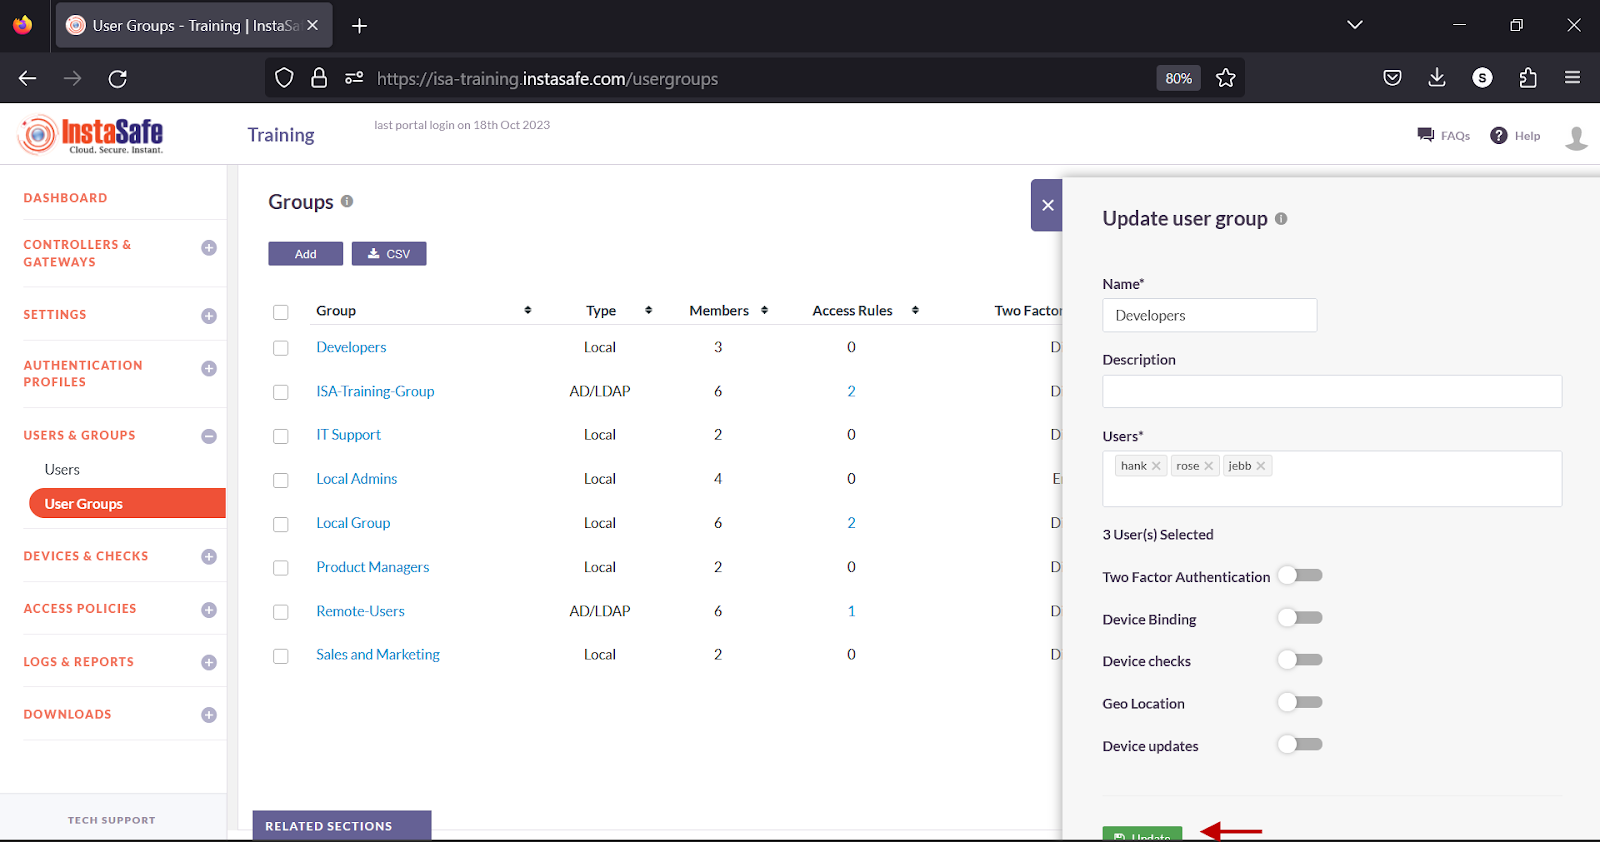
- You can add or remove users from within this window. You can also enable or disable the options available on this window. After making the changes, click Update at the bottom.
Delete User Groups
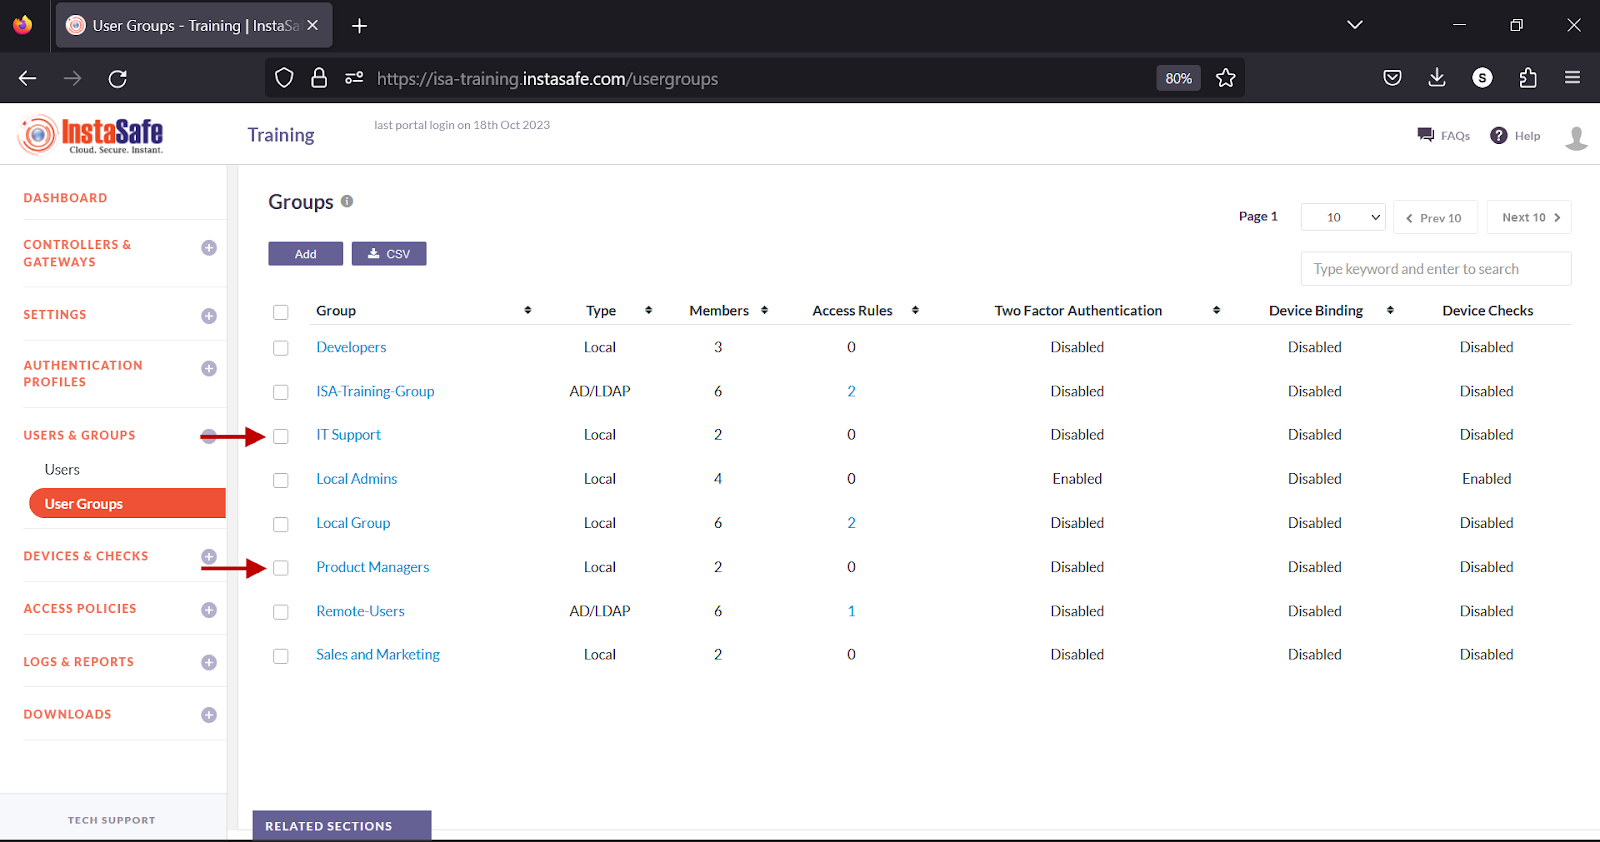
- Enable the check box alongside the group you wish to delete.
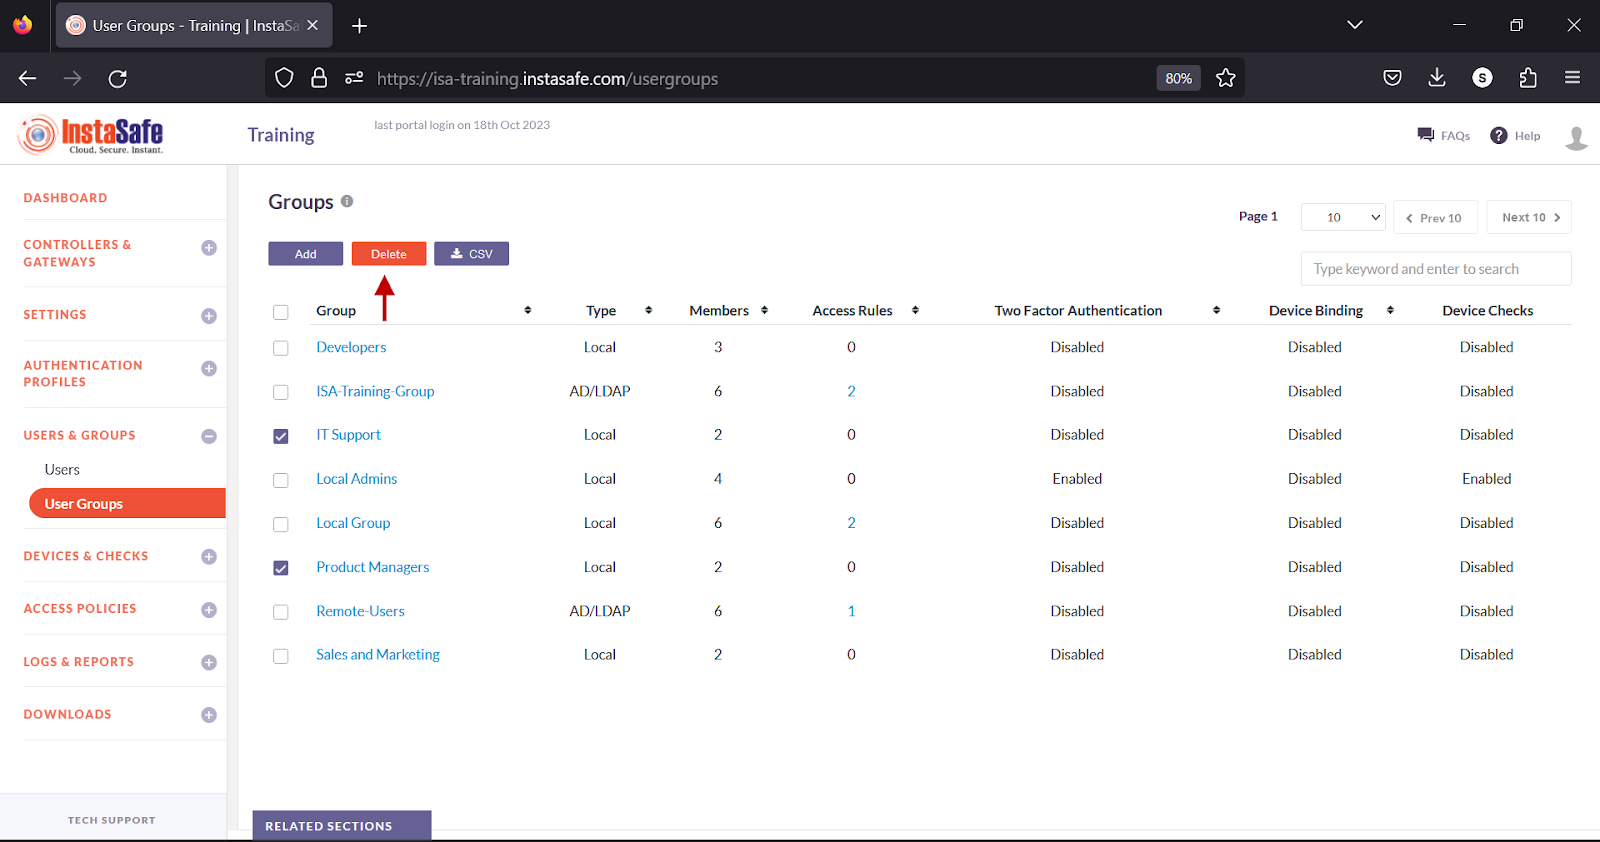
- Click the Delete button at the top.
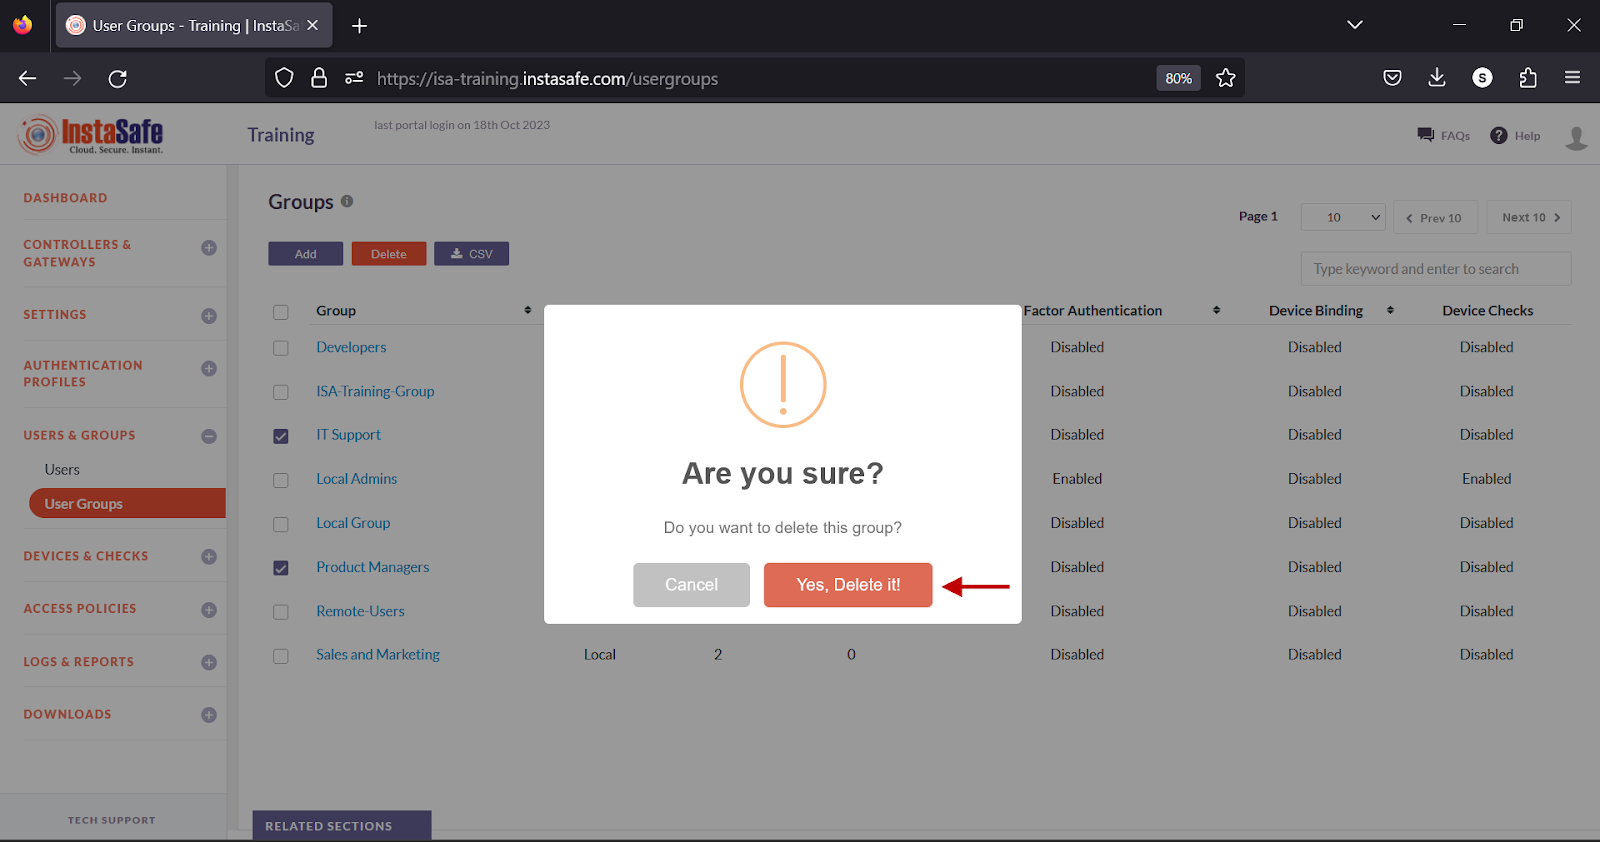
- On the pop-up window, click Yes, Delete it!.
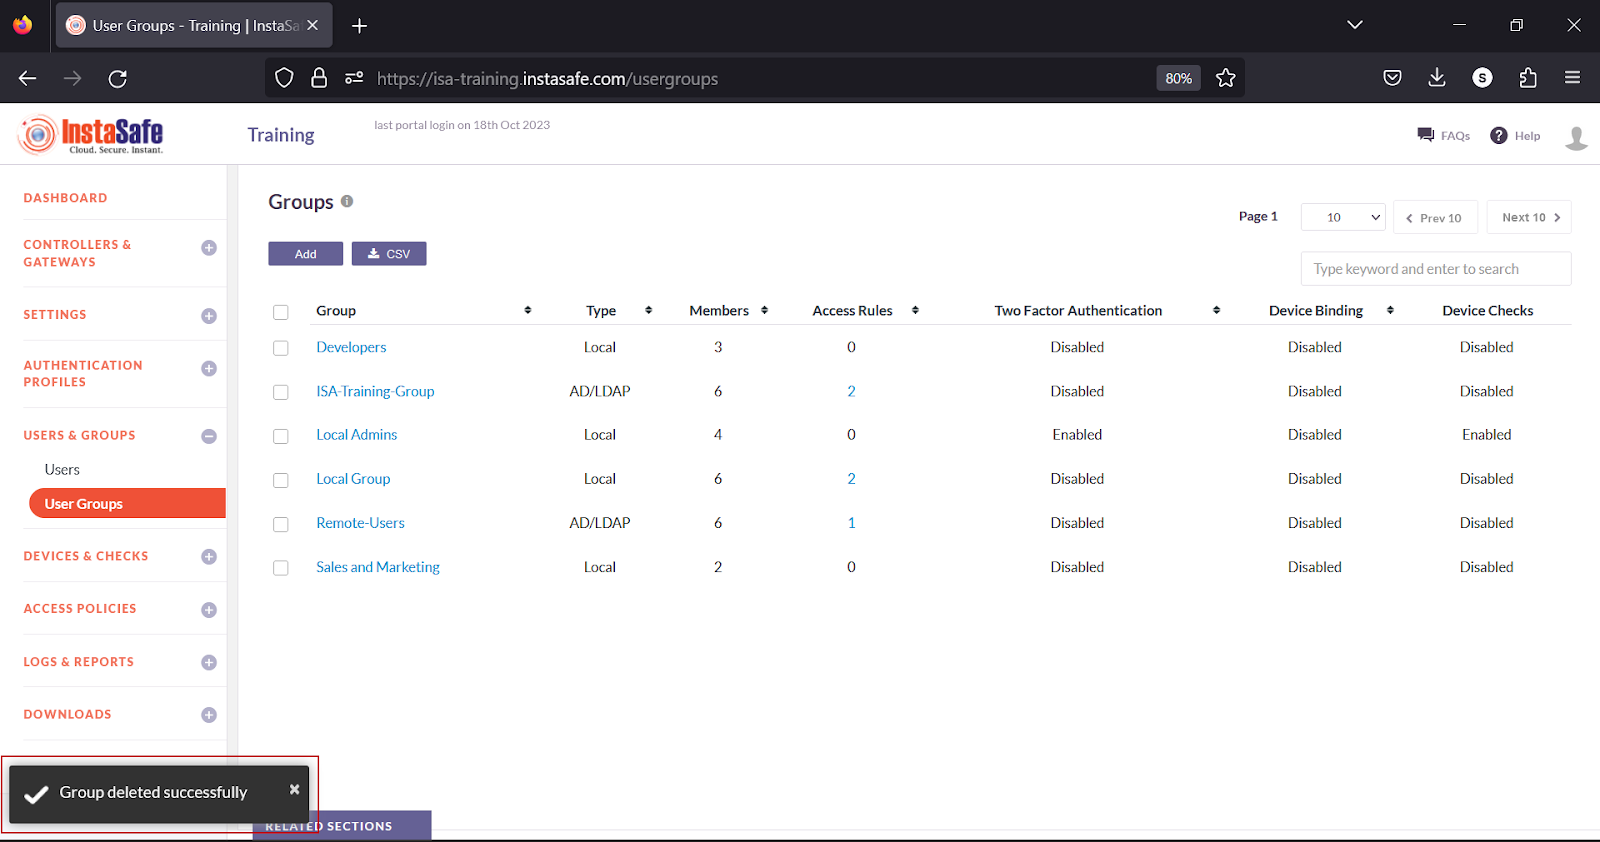
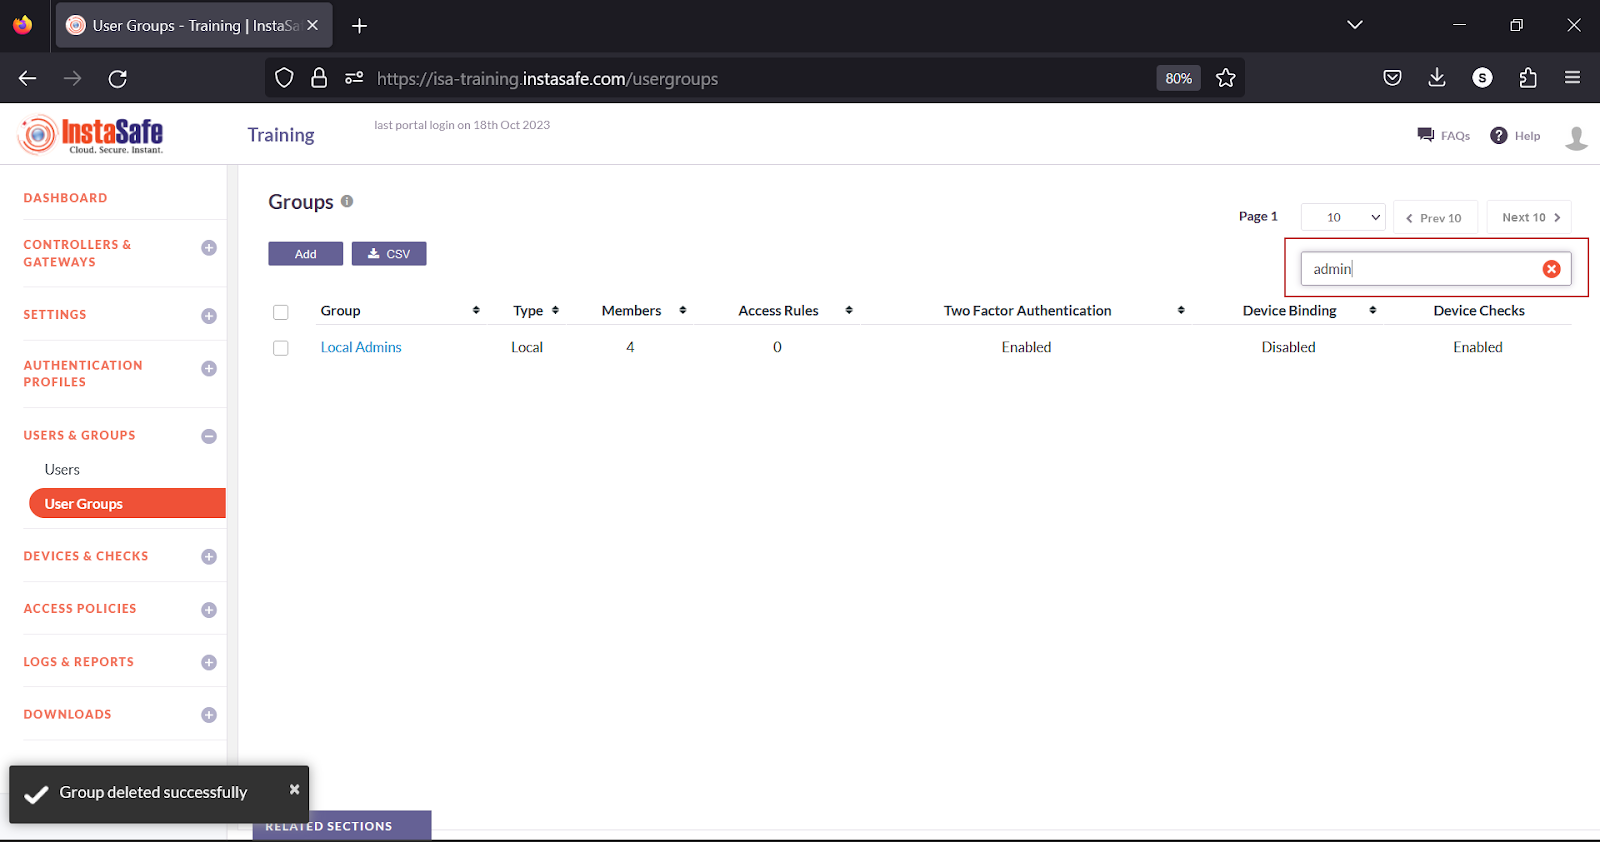
- On the bottom left, a Group deleted successfully message is displayed.
Navigating and Sorting the User Group list
The User Groups page allows easy pagination for viewing a large number of user groups. You can view user groups by using the navigation control bar at the top right of the page. Click the drop-down box to select the number of groups to be displayed on the User and Groups page. By default, it is set to display 10 groups. You can change it to display either 30 or 50 groups.
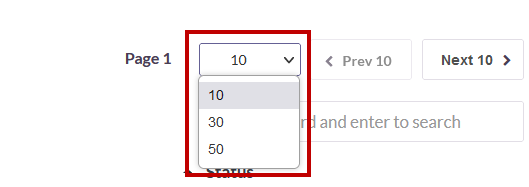
Click the Next button to view the next page of groups. Click the Prev button to view the previous page.

You can search a group by name by entering it in the search box.
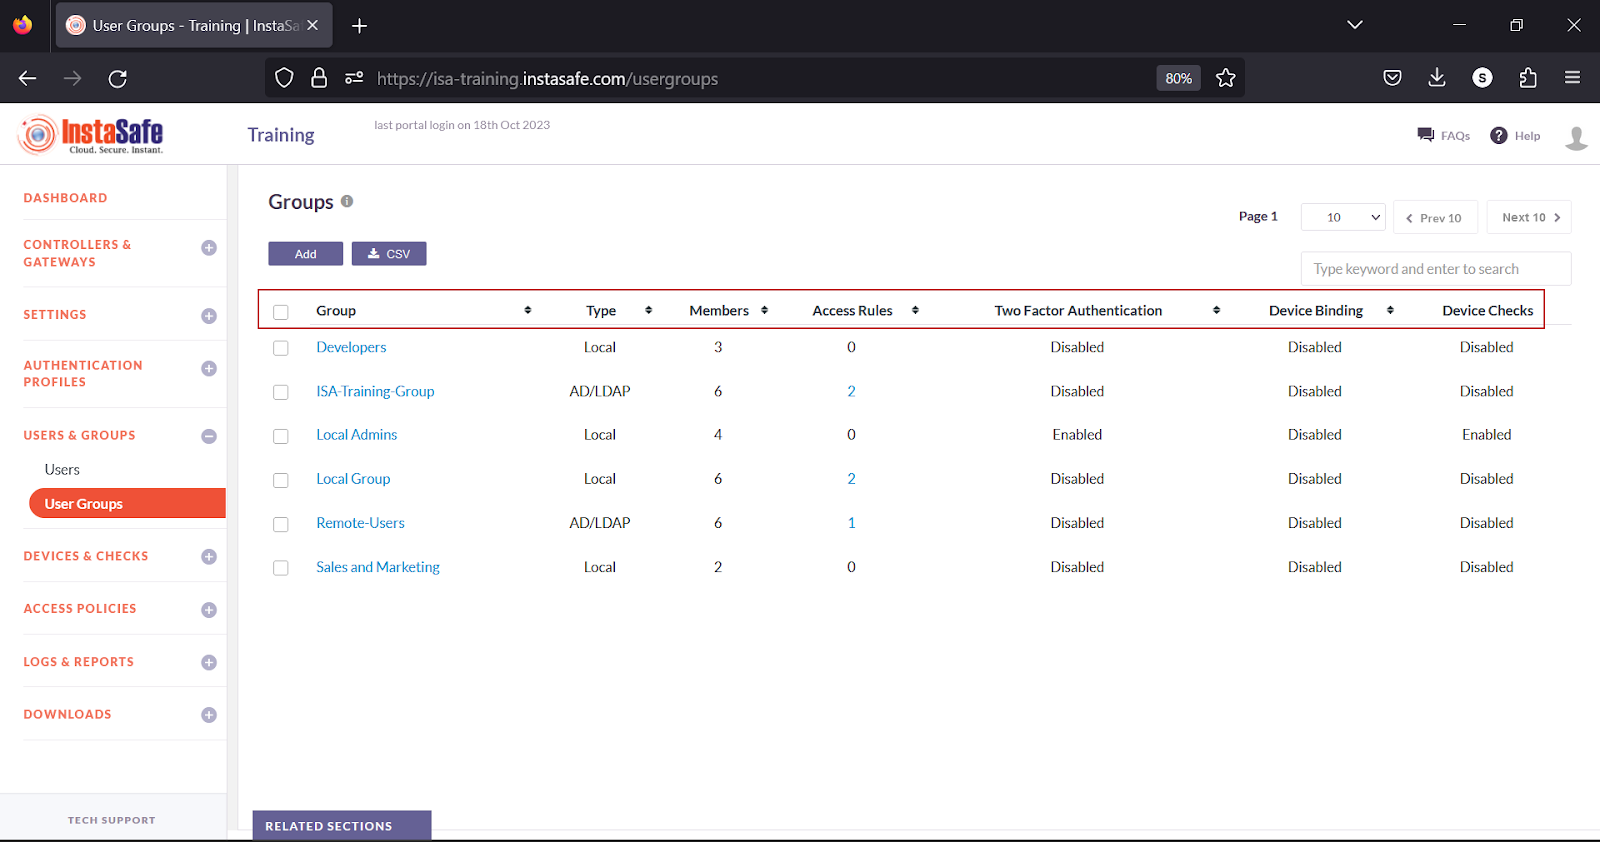
To sort the users by Group, Type, Members, Access Rules, Two Factor Authentication or, Device Checks, click the respective header fields.
Conclusion
The User Groups page of the ISA web portal is the repository of user groups that can be configured for Two Factor Authentication, Device Checks, Geo Binding, and Device Updates of the users within the groups. Further, users within the groups can be allowed access to corporate resources by adding the groups within access rules.